
Bird Feeder Craft: Seed Ornaments Are A Fun & Easy DIY for Kids and Nature Lovers
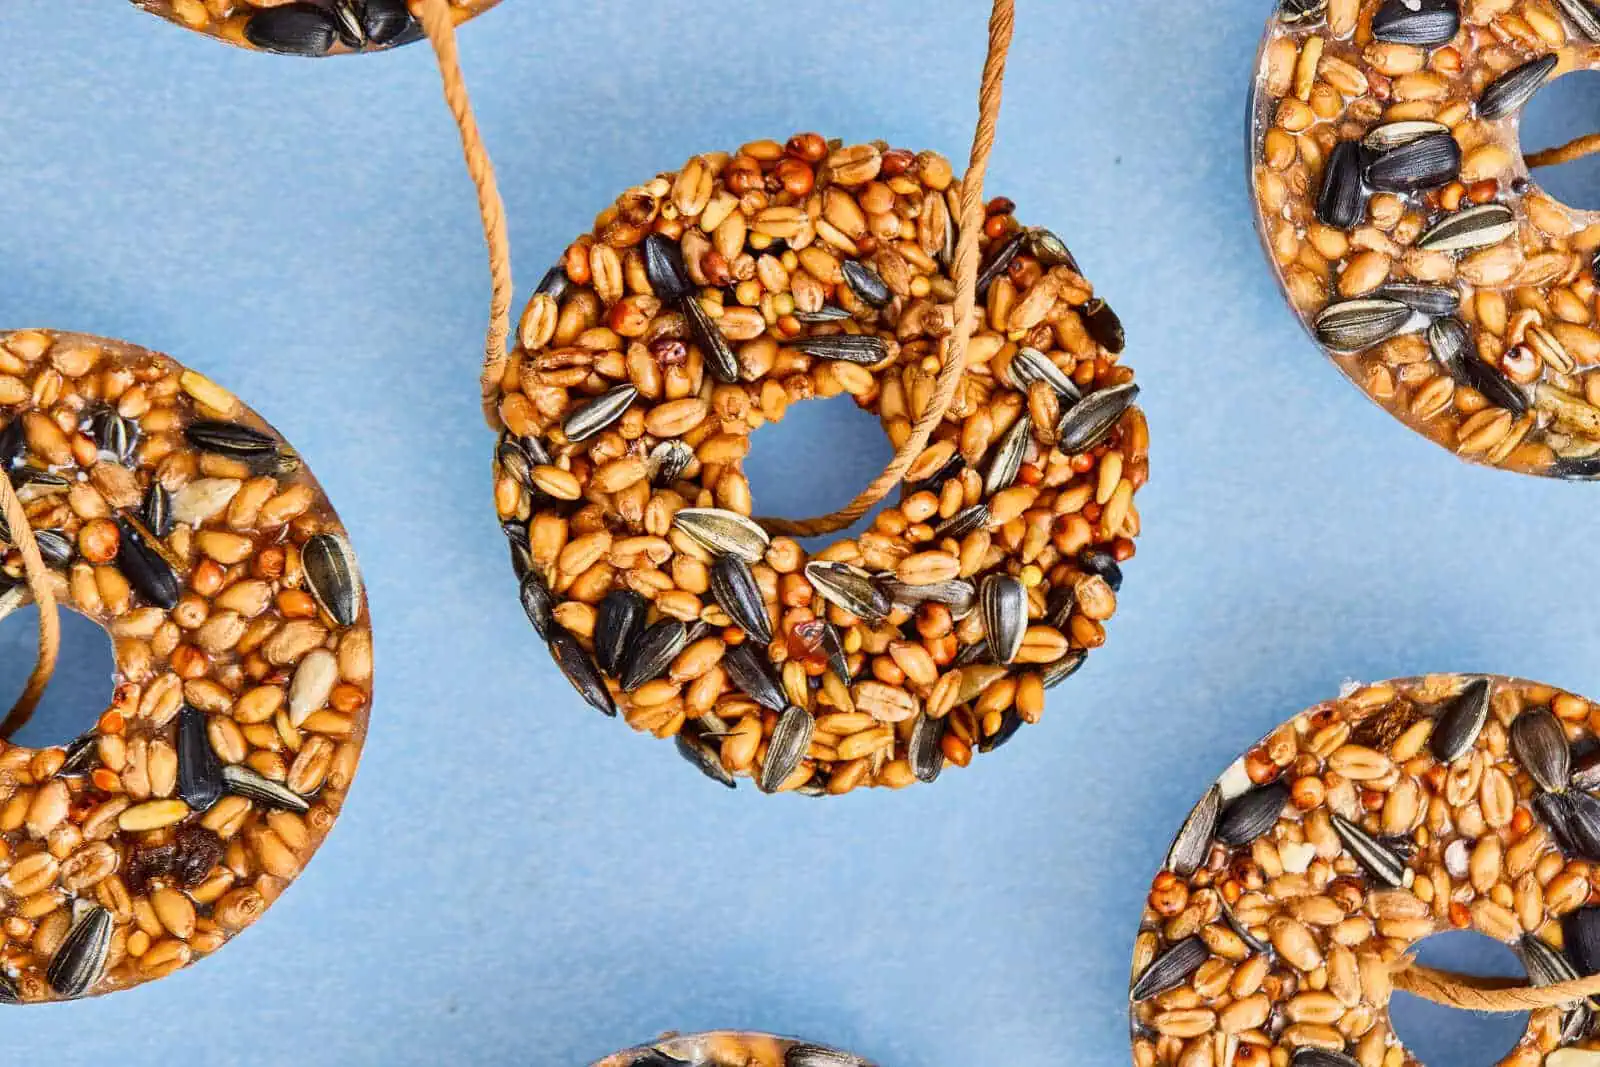
If you’re looking for a simple, budget-friendly craft that brings your family outdoors, these bird feeder seed ornaments are such a fun project to try. Not only are they easy enough for kids to help with, but they also create a beautiful way to attract birds right to your backyard.
This is one of those crafts that checks all the boxes: it’s hands-on, educational, eco-friendly, and gives you a reason to slow down and enjoy nature together. Whether you’re planning a spring activity, a homeschool lesson, or just a cozy afternoon craft, these seed ornaments are always a hit.
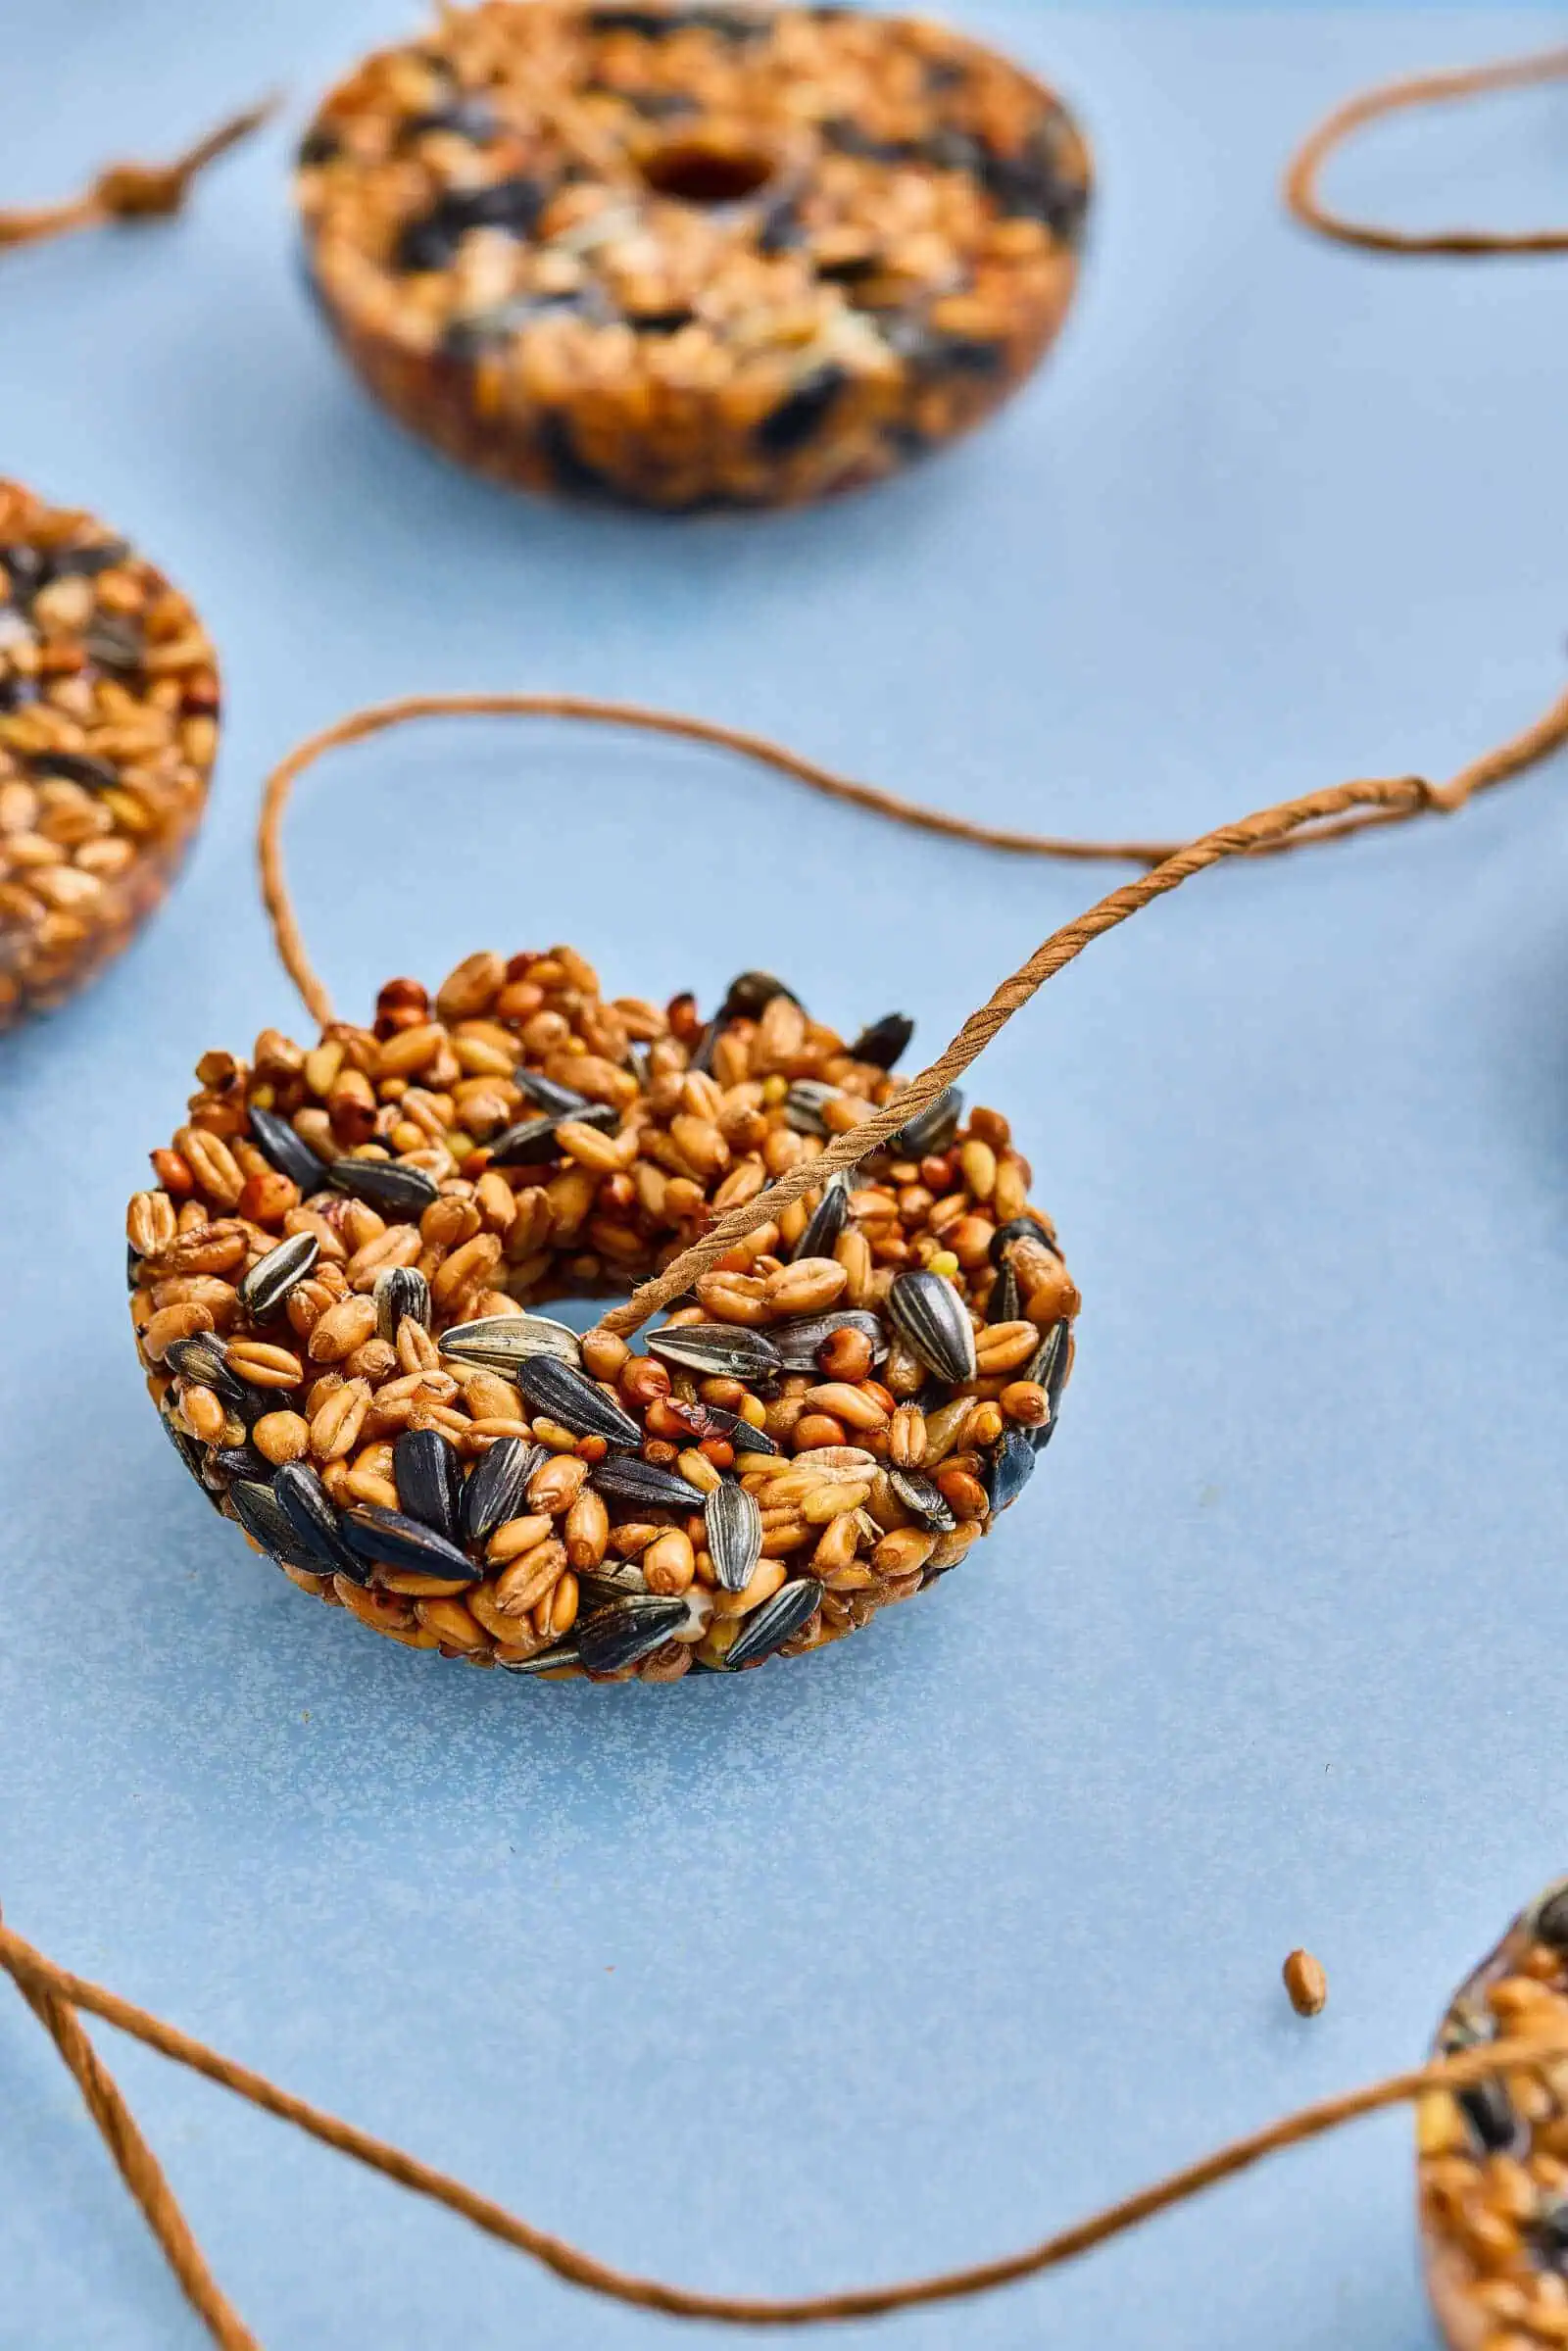
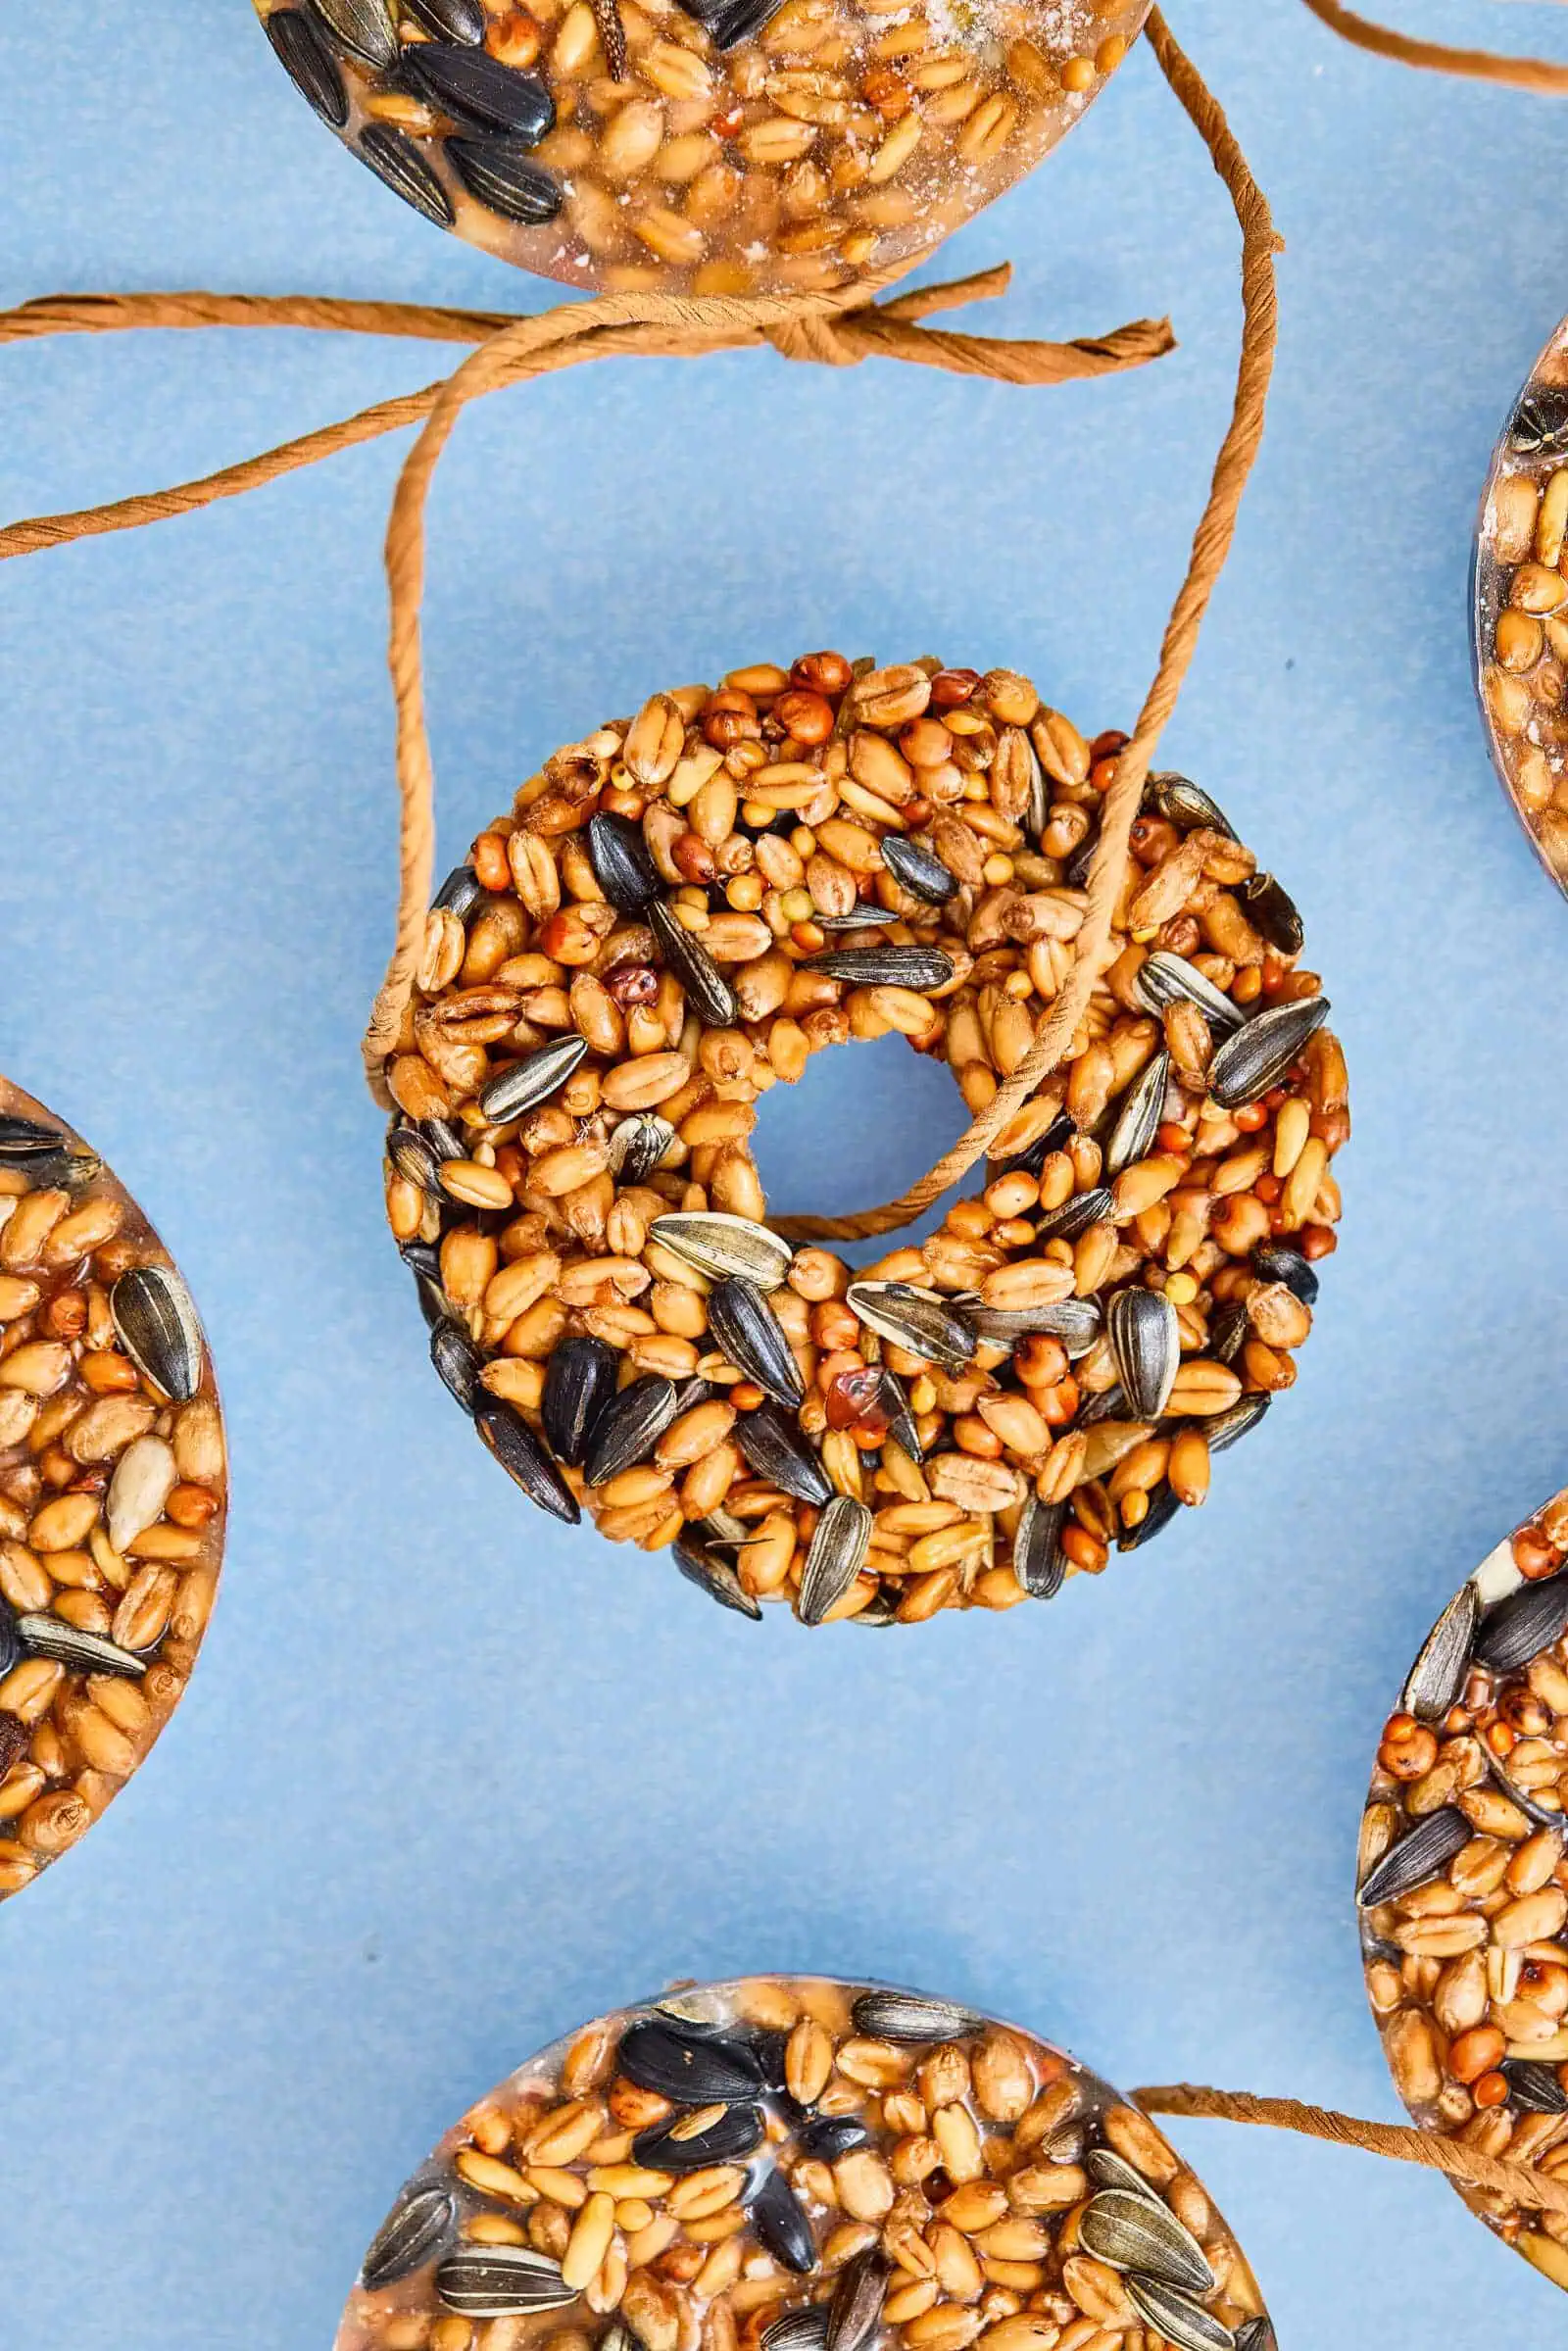
Table of Contents

Why You’ll Love This Bird Feeder Craft
Before we jump into the steps, here’s why this DIY is worth adding to your list:
- Kid-friendly and mess-friendly (hello sensory play!)
- Great for learning about wildlife and birds
- Affordable with minimal supplies
- Perfect for all seasons (especially winter and early spring)
- Makes a thoughtful handmade gift
Plus, there’s something so rewarding about watching birds come enjoy something you made yourself.
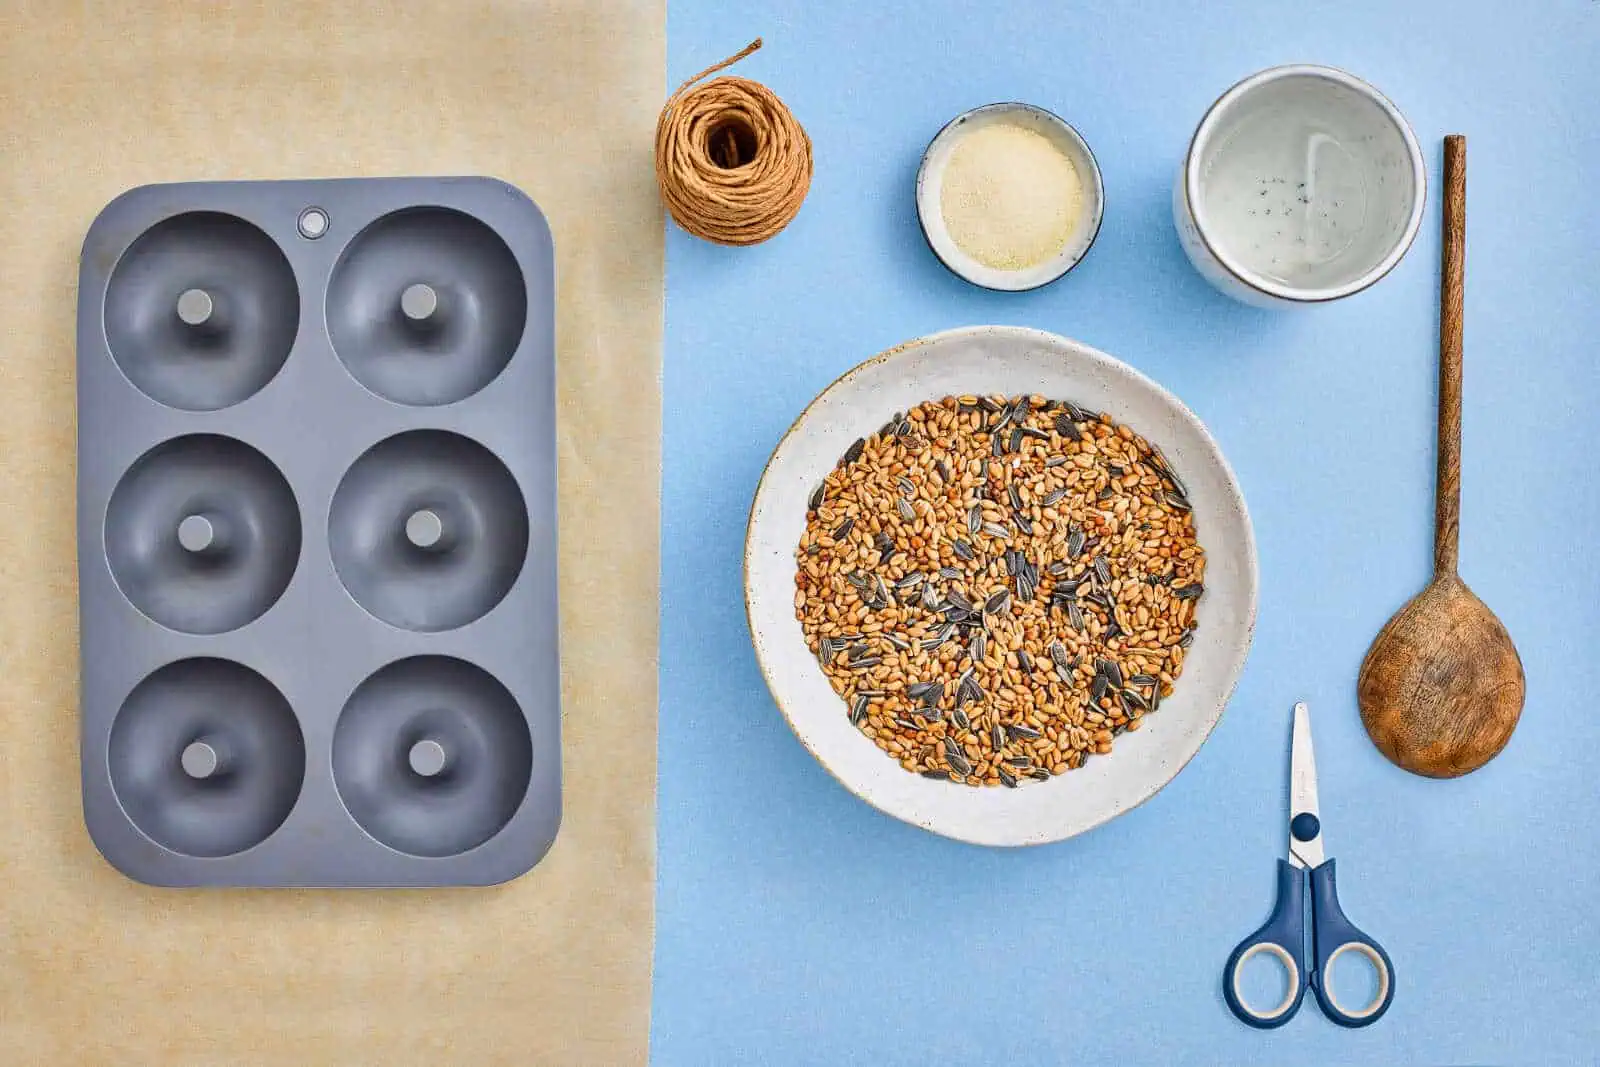
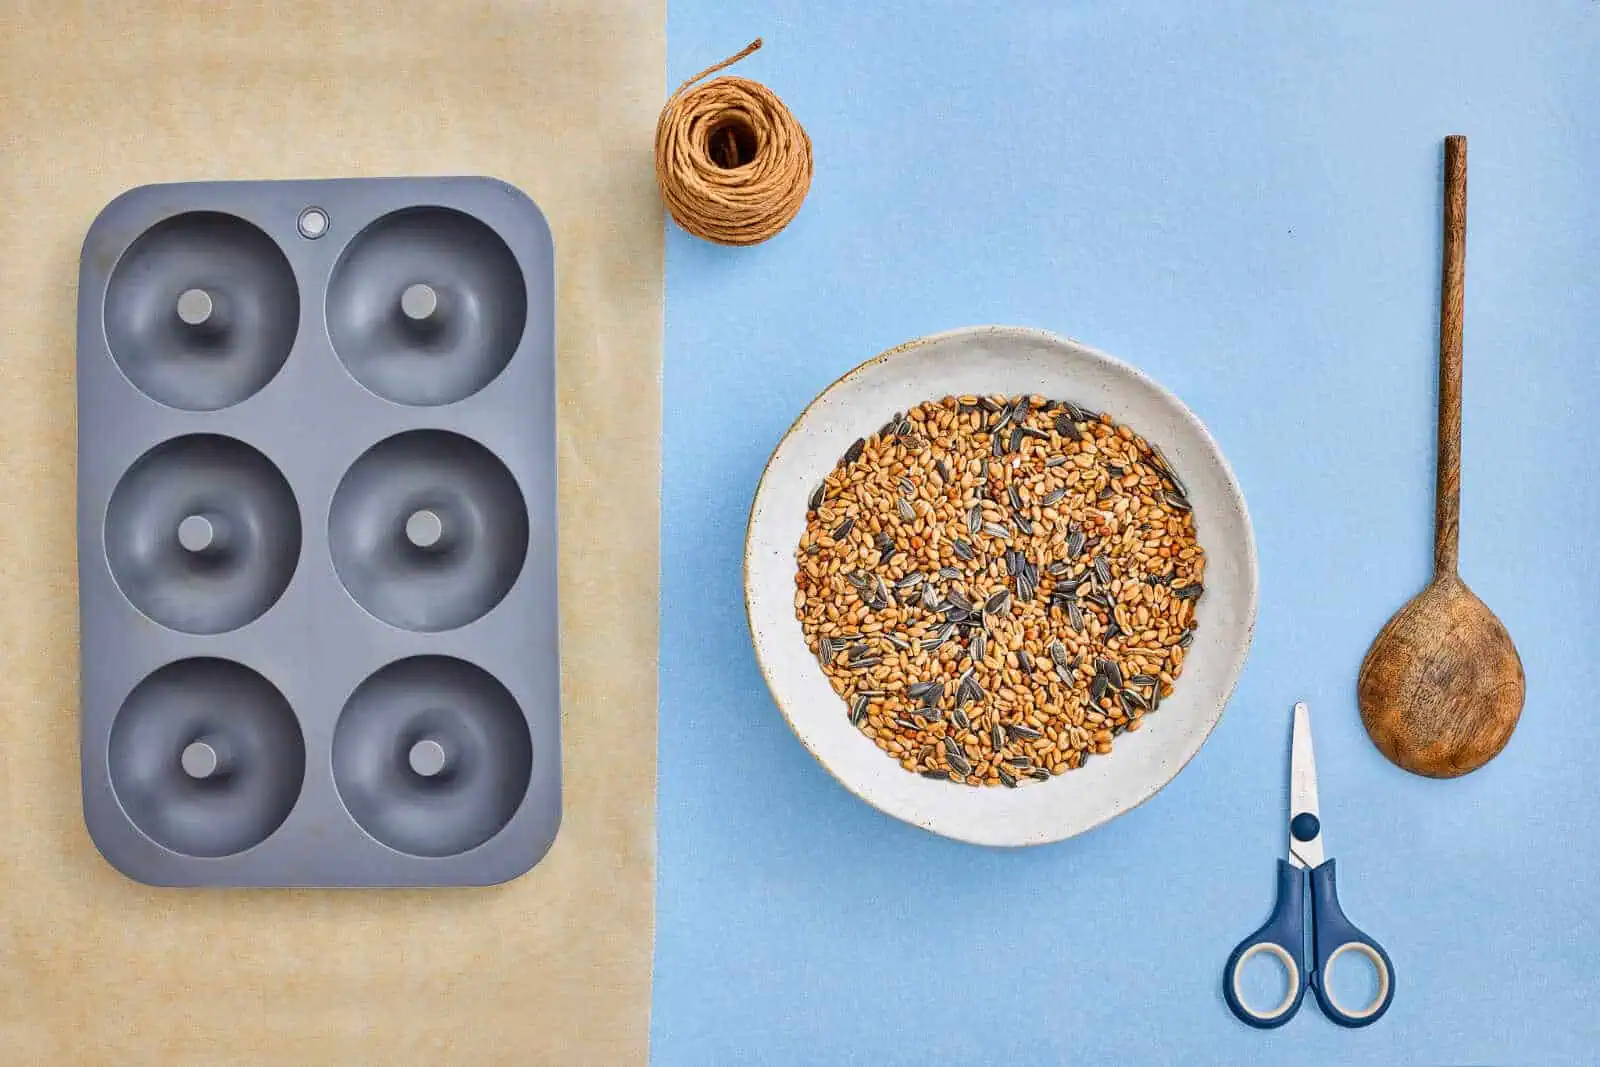
Materials You’ll Need
Gather your supplies before getting started—this recipe comes together quickly once you begin.
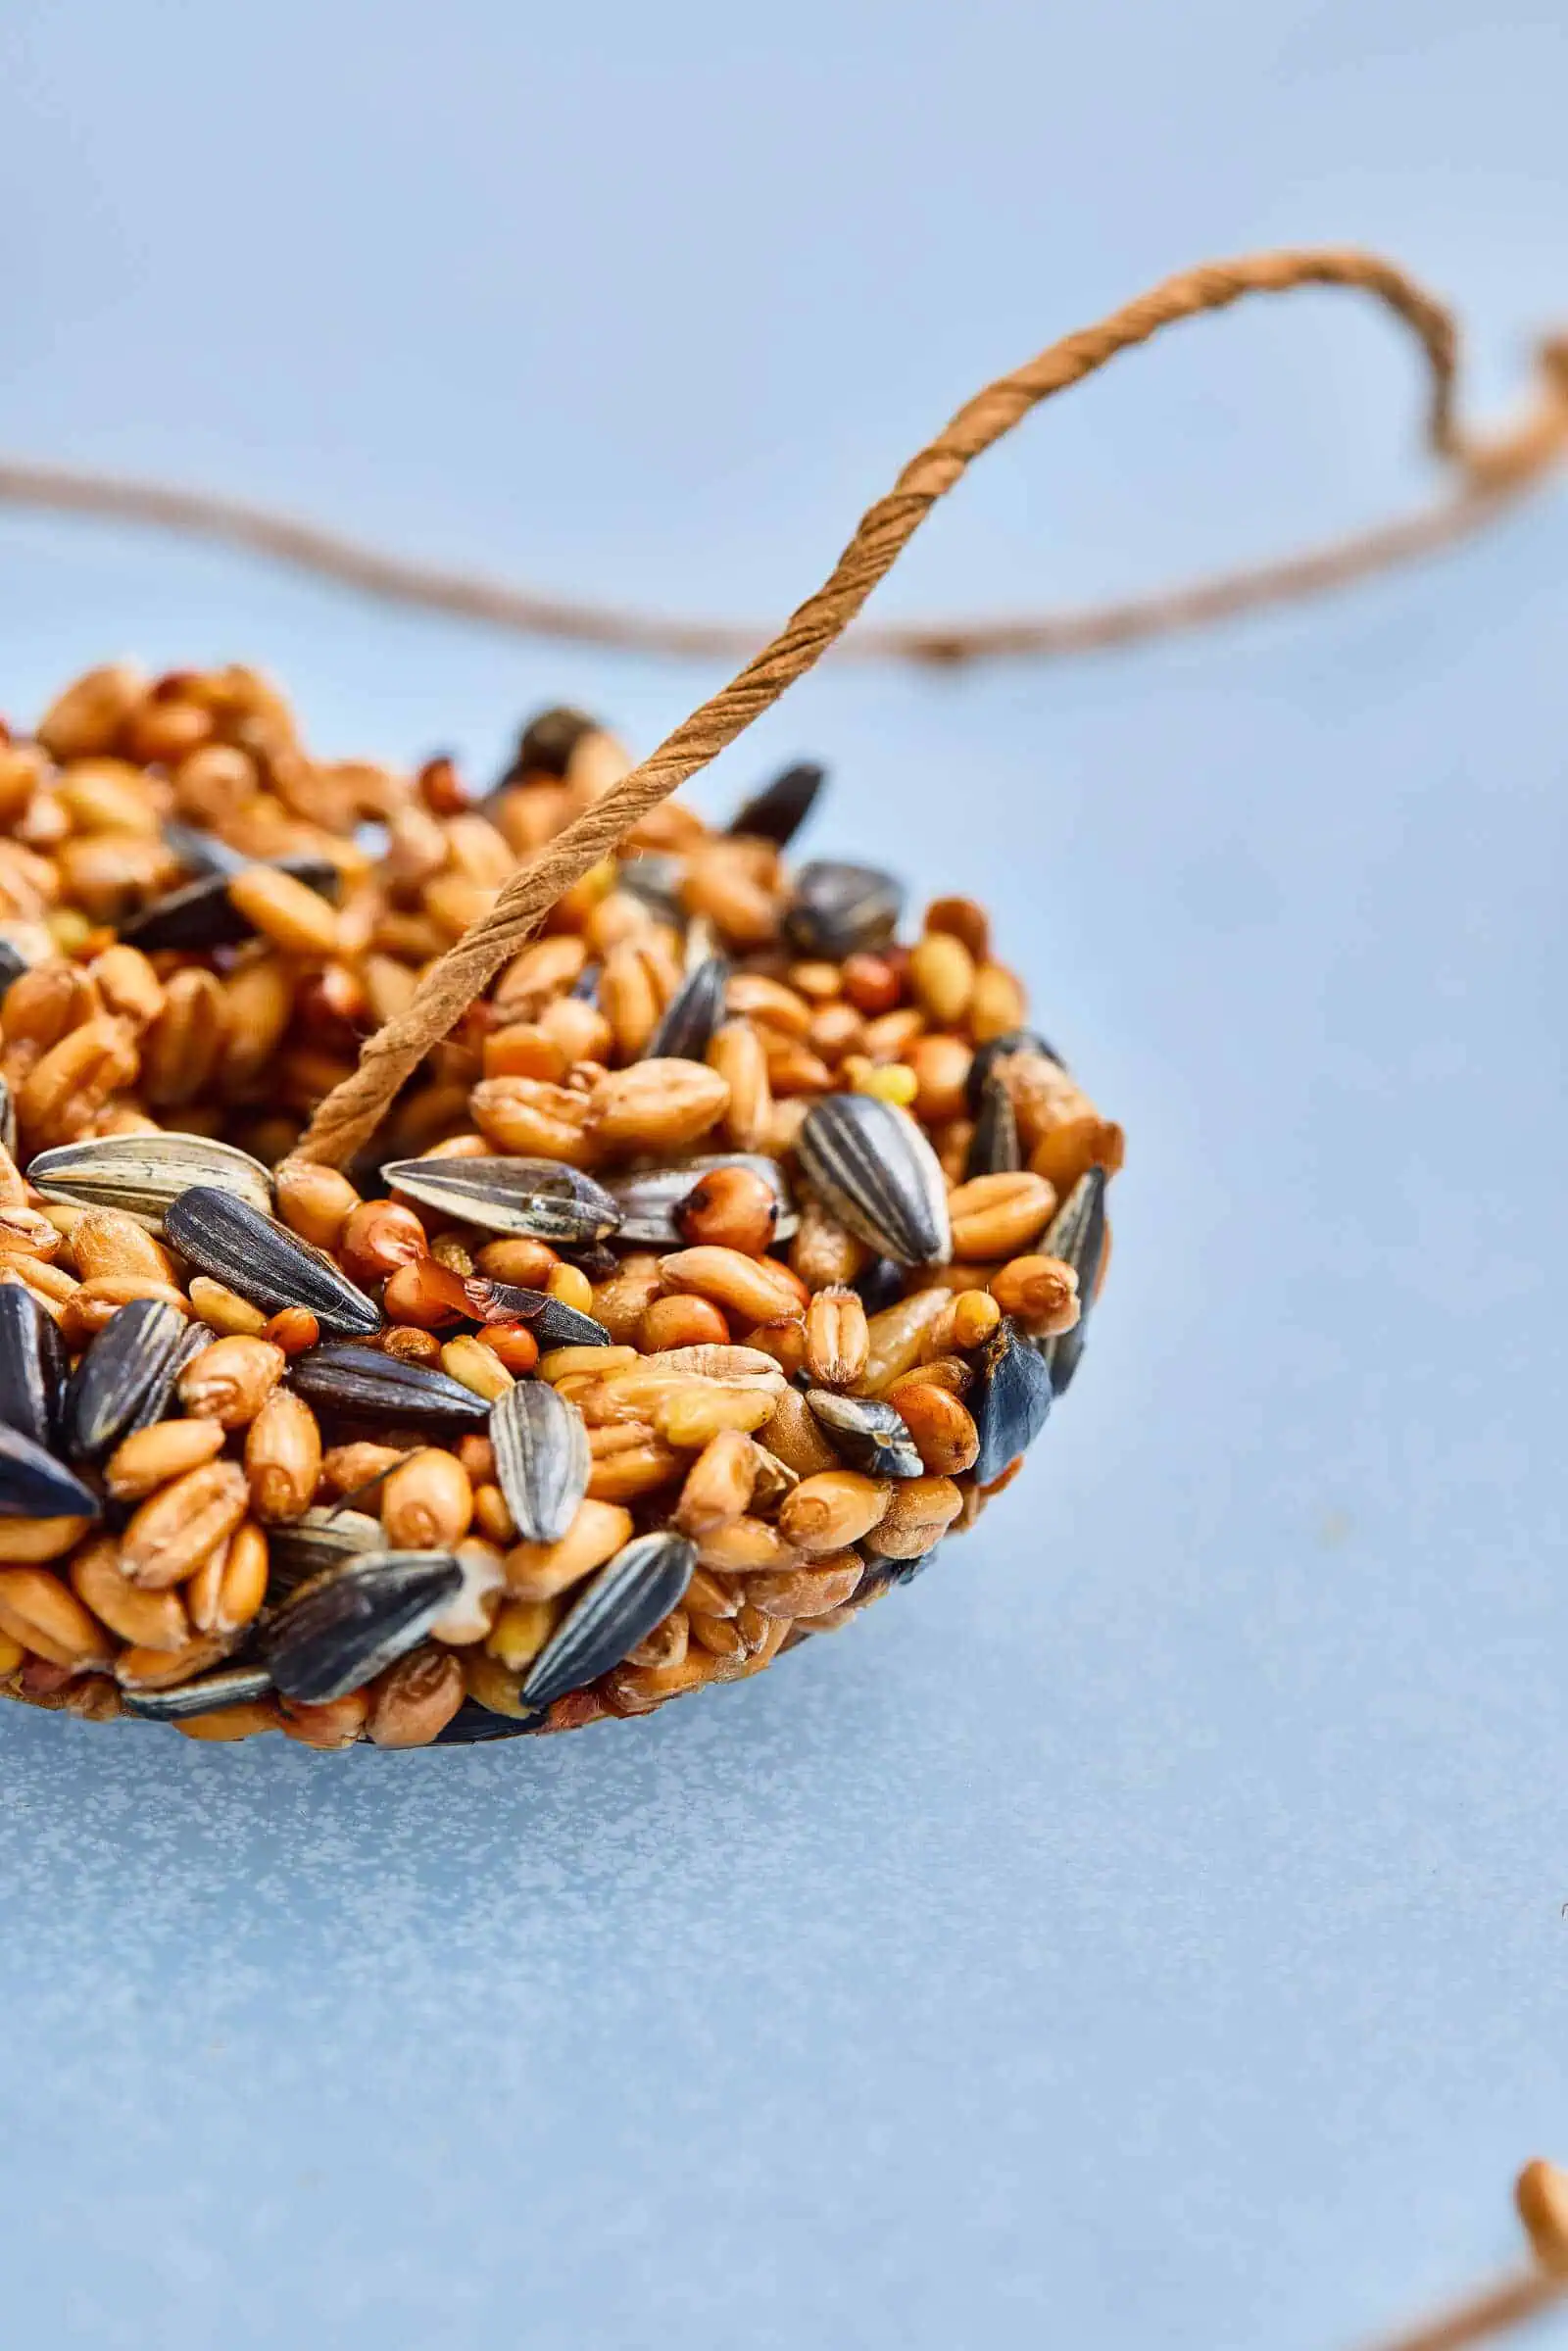
- 2 cups (300 g) mixed bird seed
- 2 packets (approx. 0.5 oz / 14 g) unflavored gelatin
- 1/2 cup (120 ml) water
- Brown paper string
- Silicone donut mold
- Parchment paper
Tip: You can find mixed bird seed at most grocery stores, garden centers, or online. Look for blends that attract local birds in your area.
Step-by-Step Instructions
This process is simple and perfect for little helpers. Let kids stir, scoop, and press—those are the fun parts!
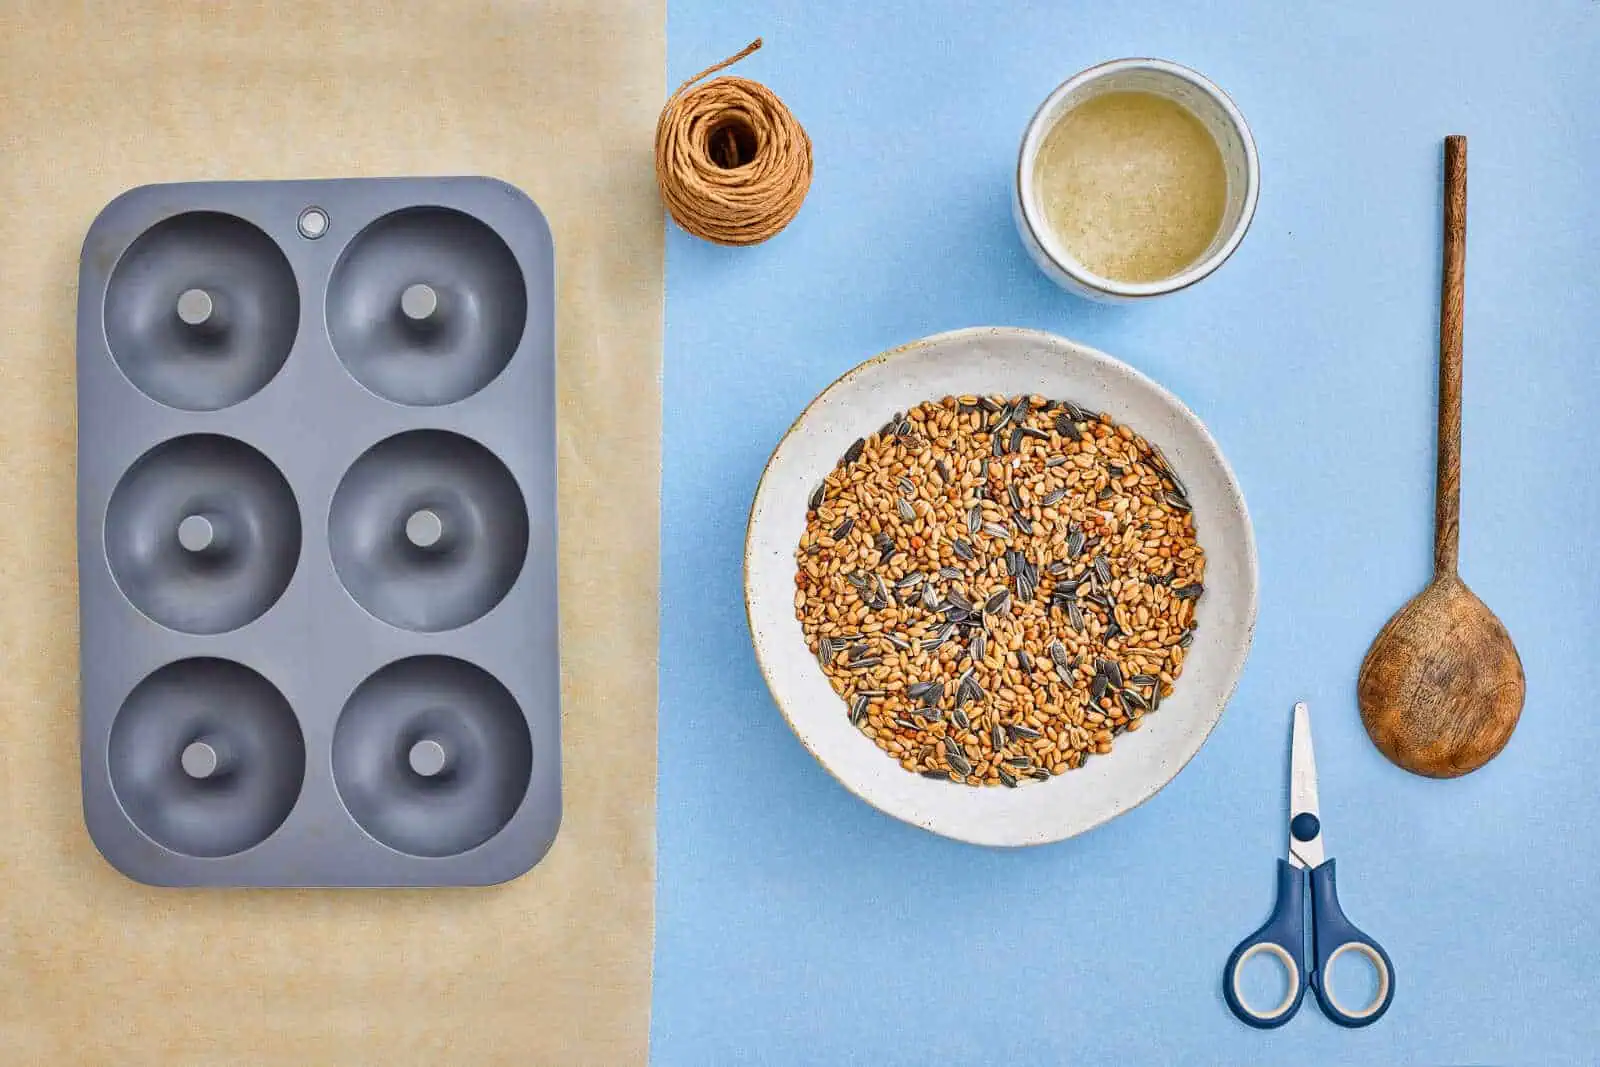
1. Prepare the Gelatin
Start by heating 1/2 cup (120 ml) of water in a mug until hot (not boiling).
Pour in the 2 packets of unflavored gelatin and stir thoroughly until it completely dissolves. You want a smooth liquid with no lumps—this is what will hold your seed ornaments together.
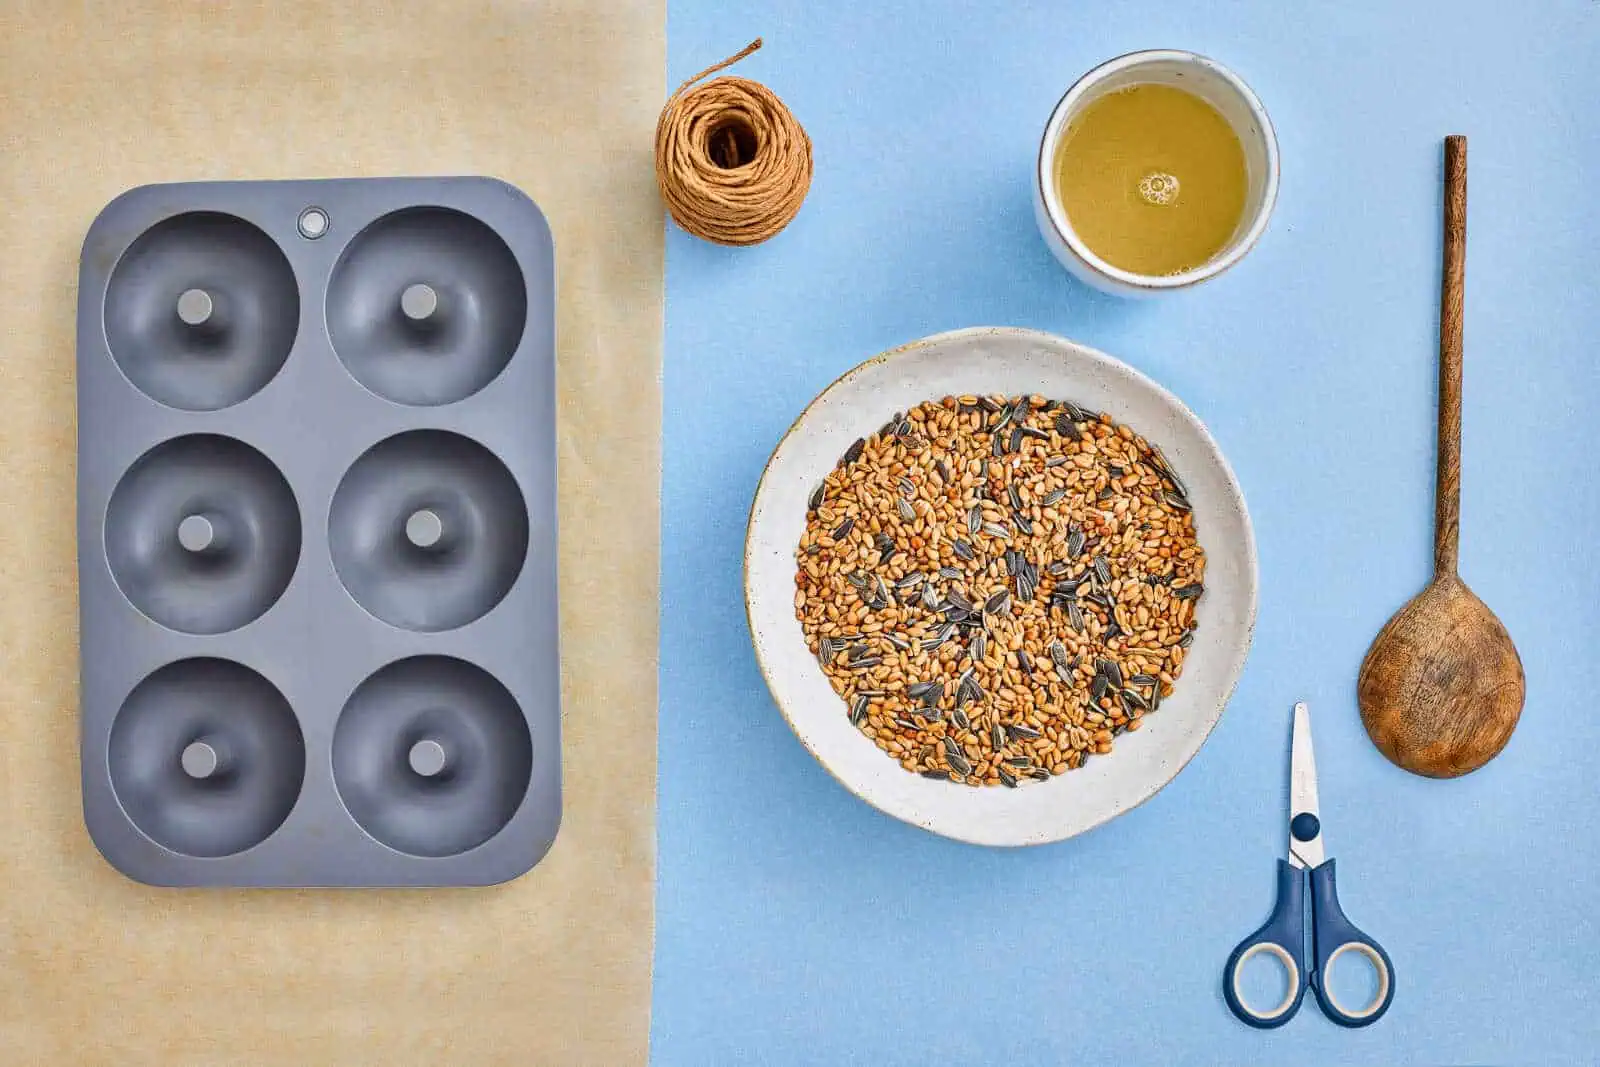
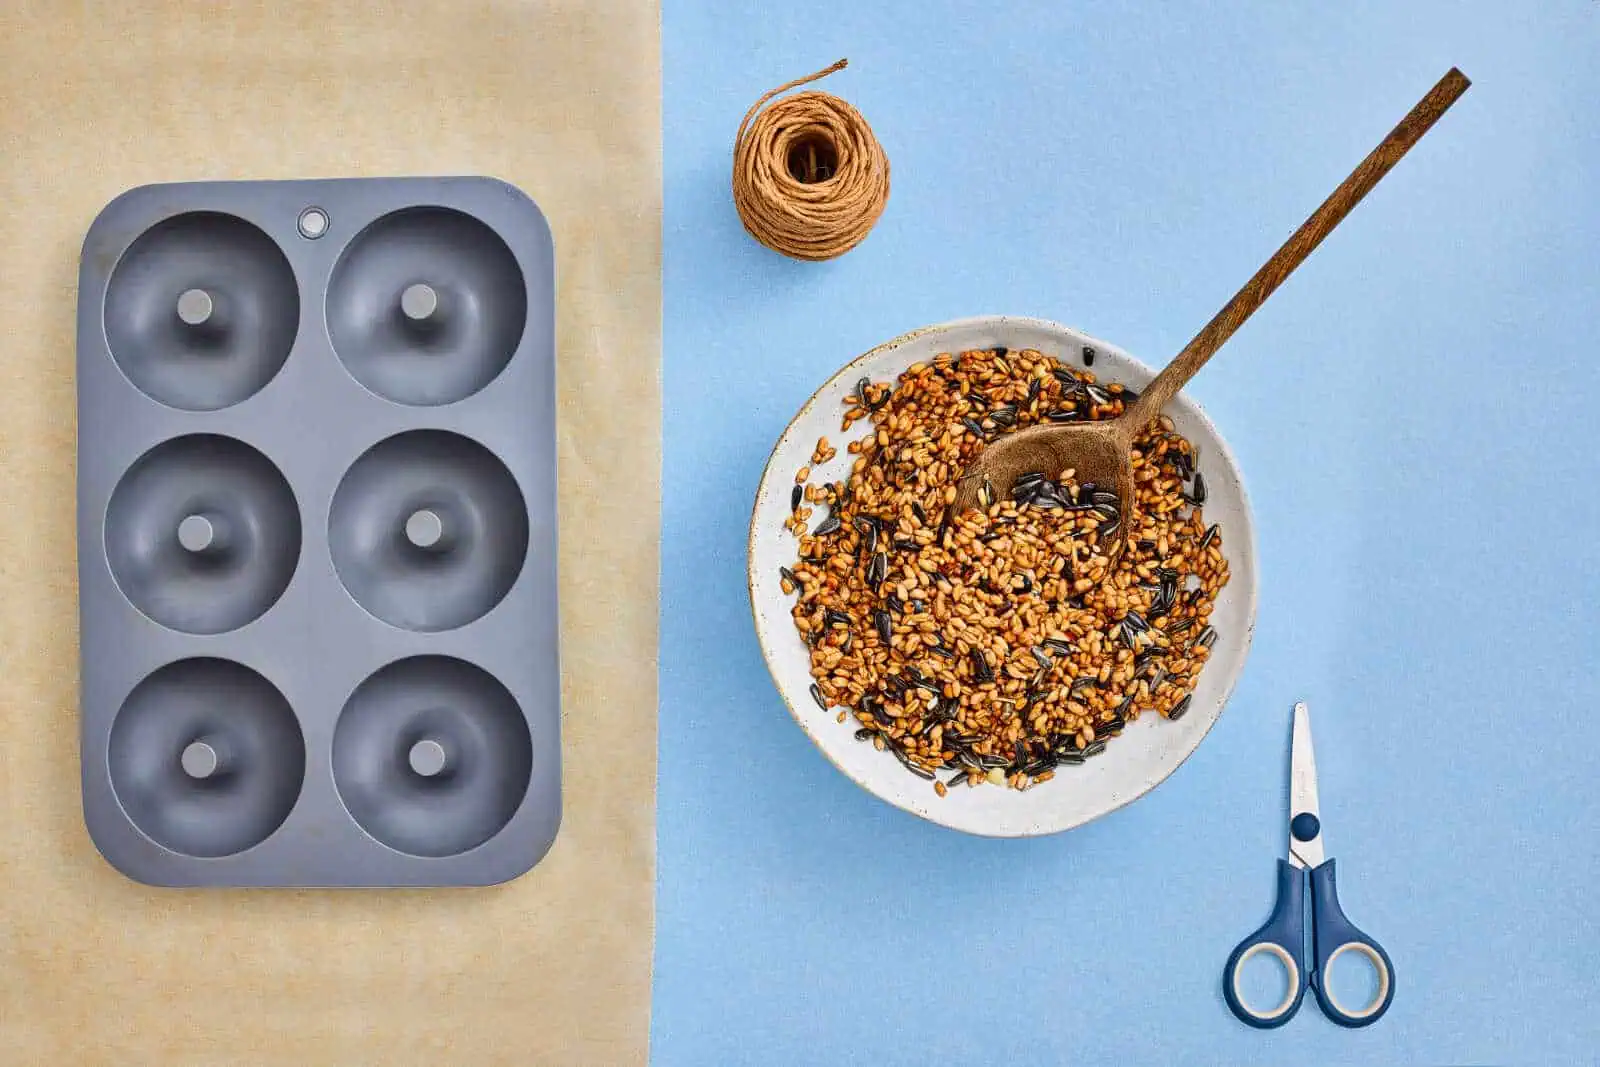
2. Mix with Bird Seed
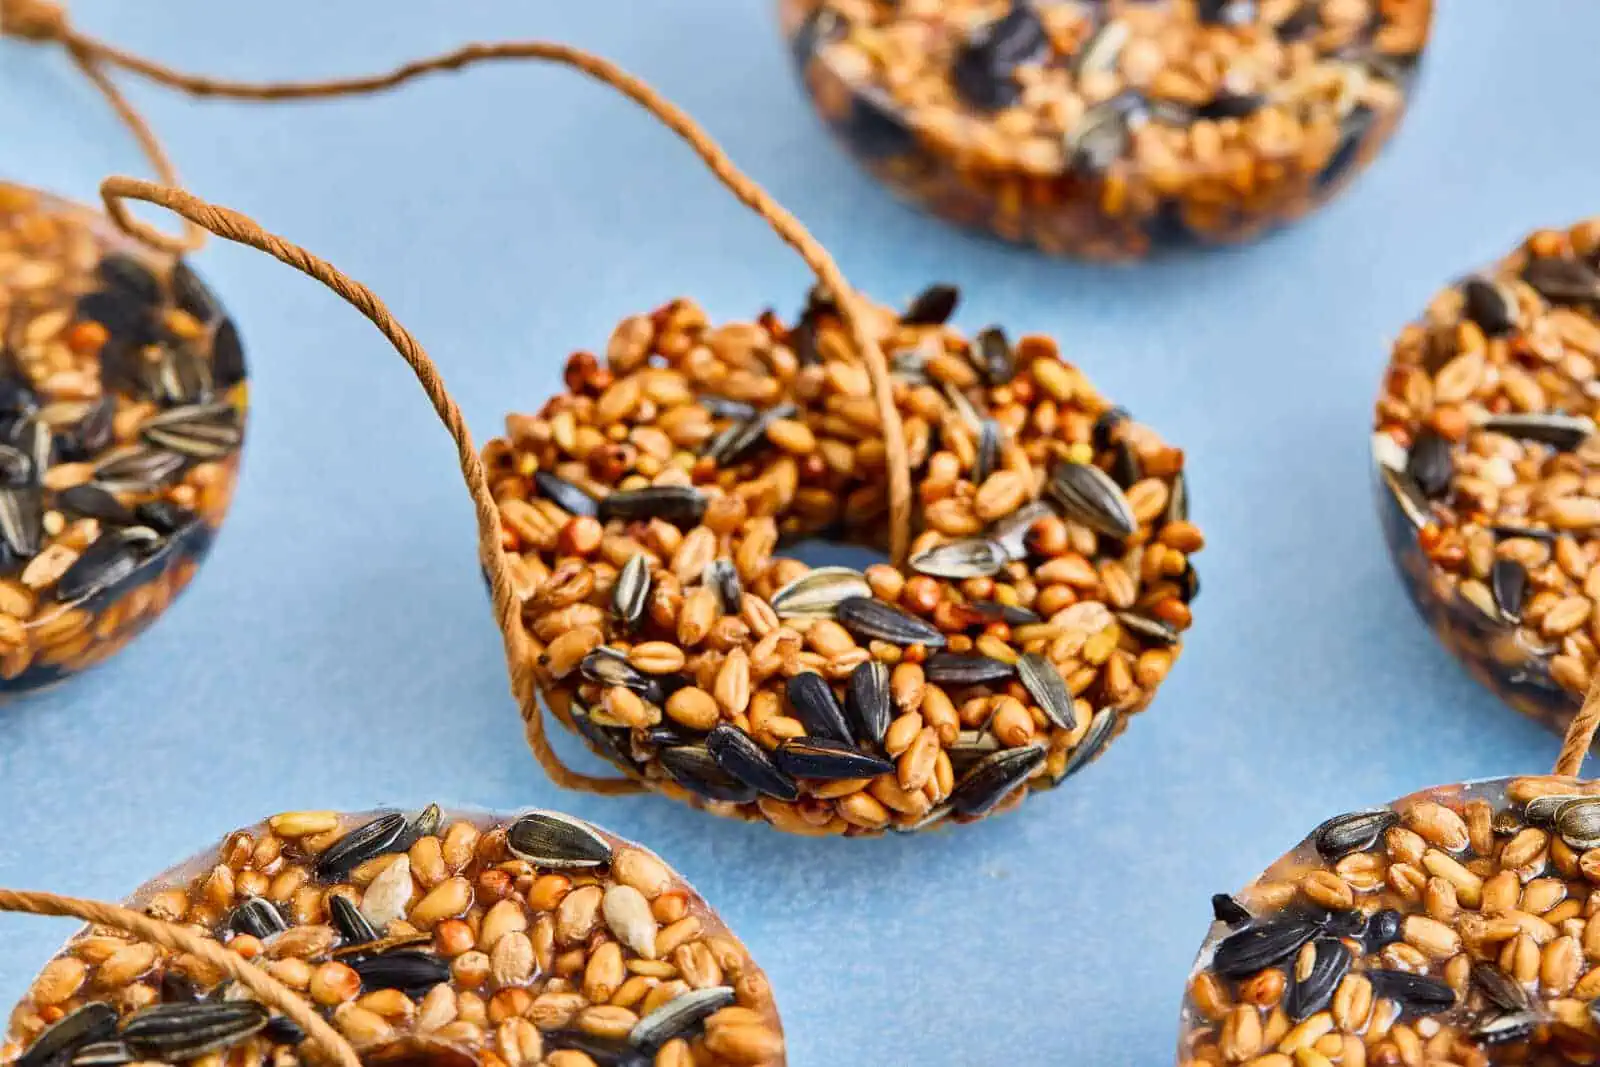
In a large bowl, combine the 2 cups of mixed bird seed with the gelatin mixture.
Stir well until every seed is coated. This step is important—if the seeds aren’t evenly coated, your ornaments may fall apart later.
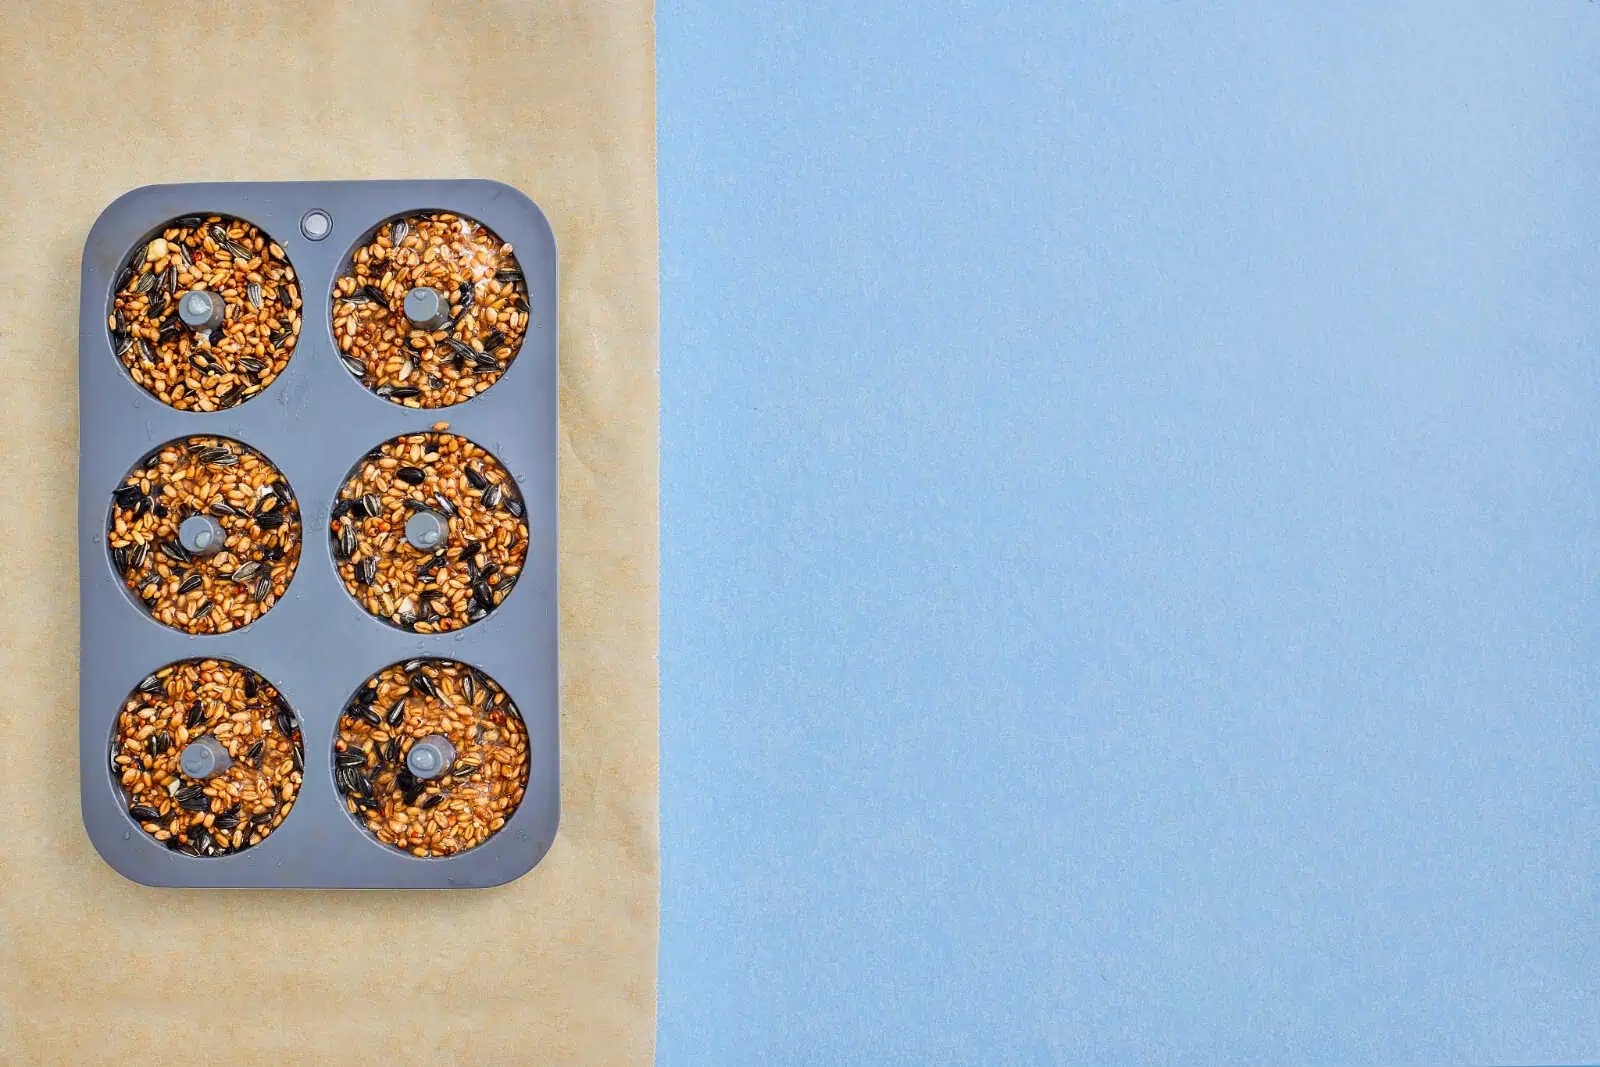
3. Fill the Molds
Lay down parchment paper under your silicone donut mold to keep cleanup easy.
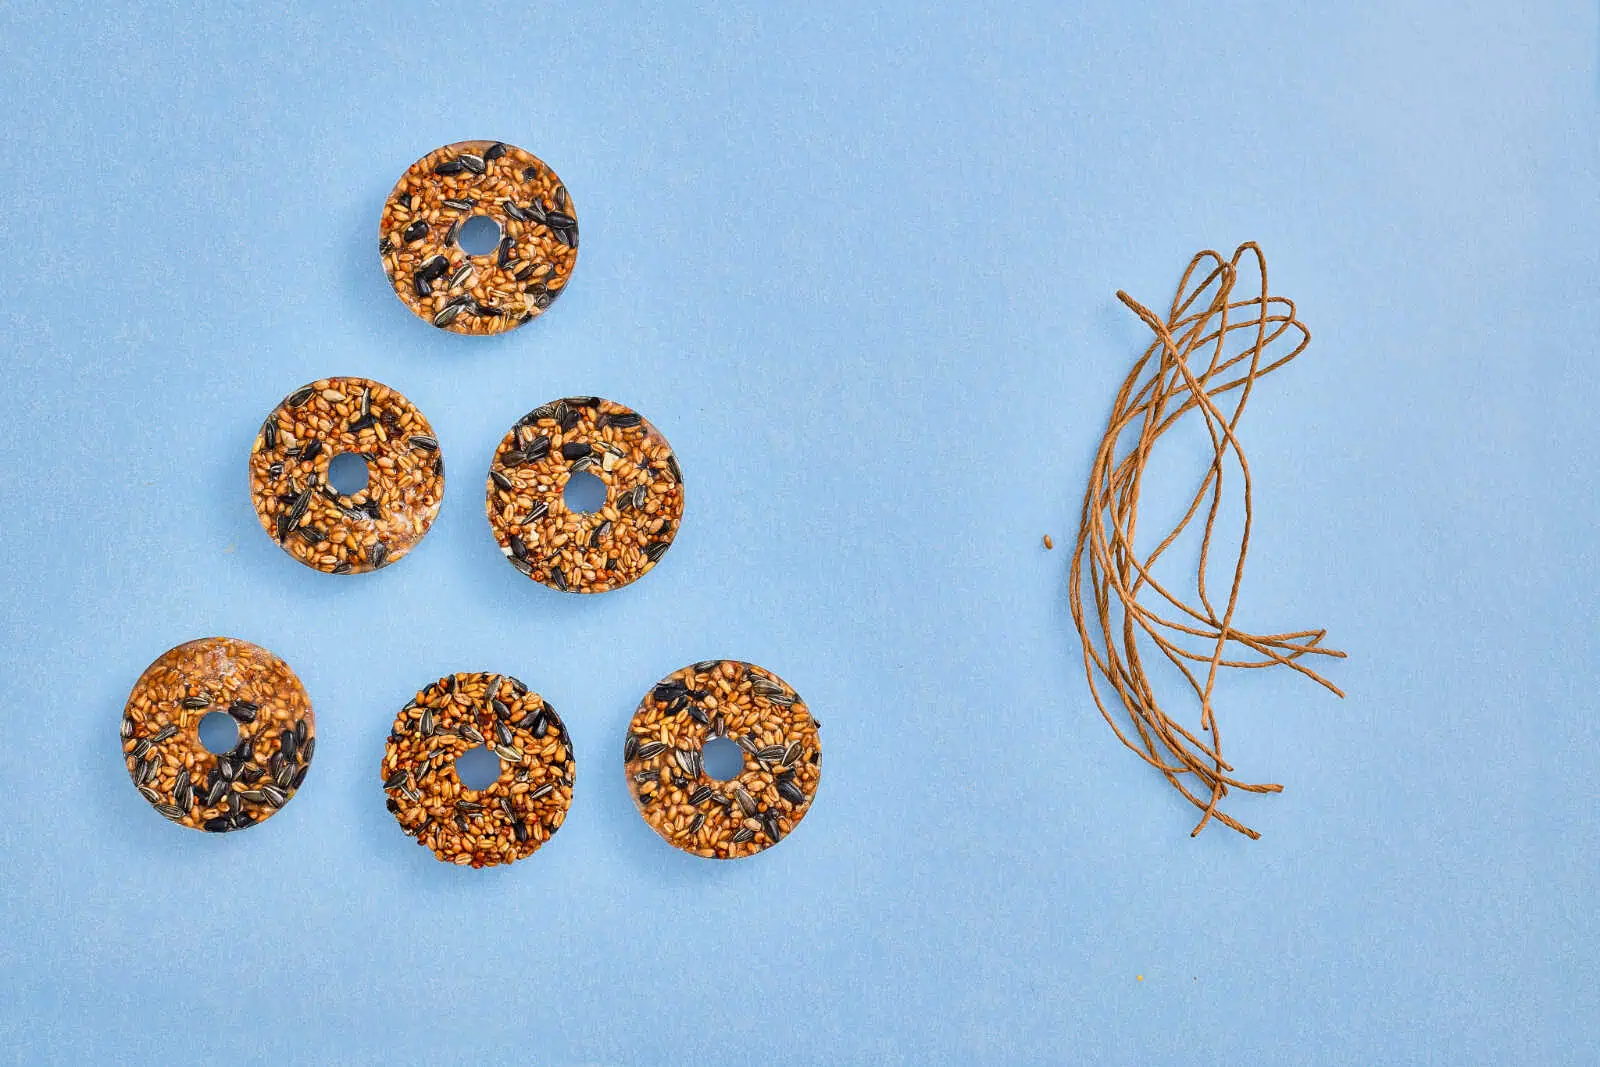
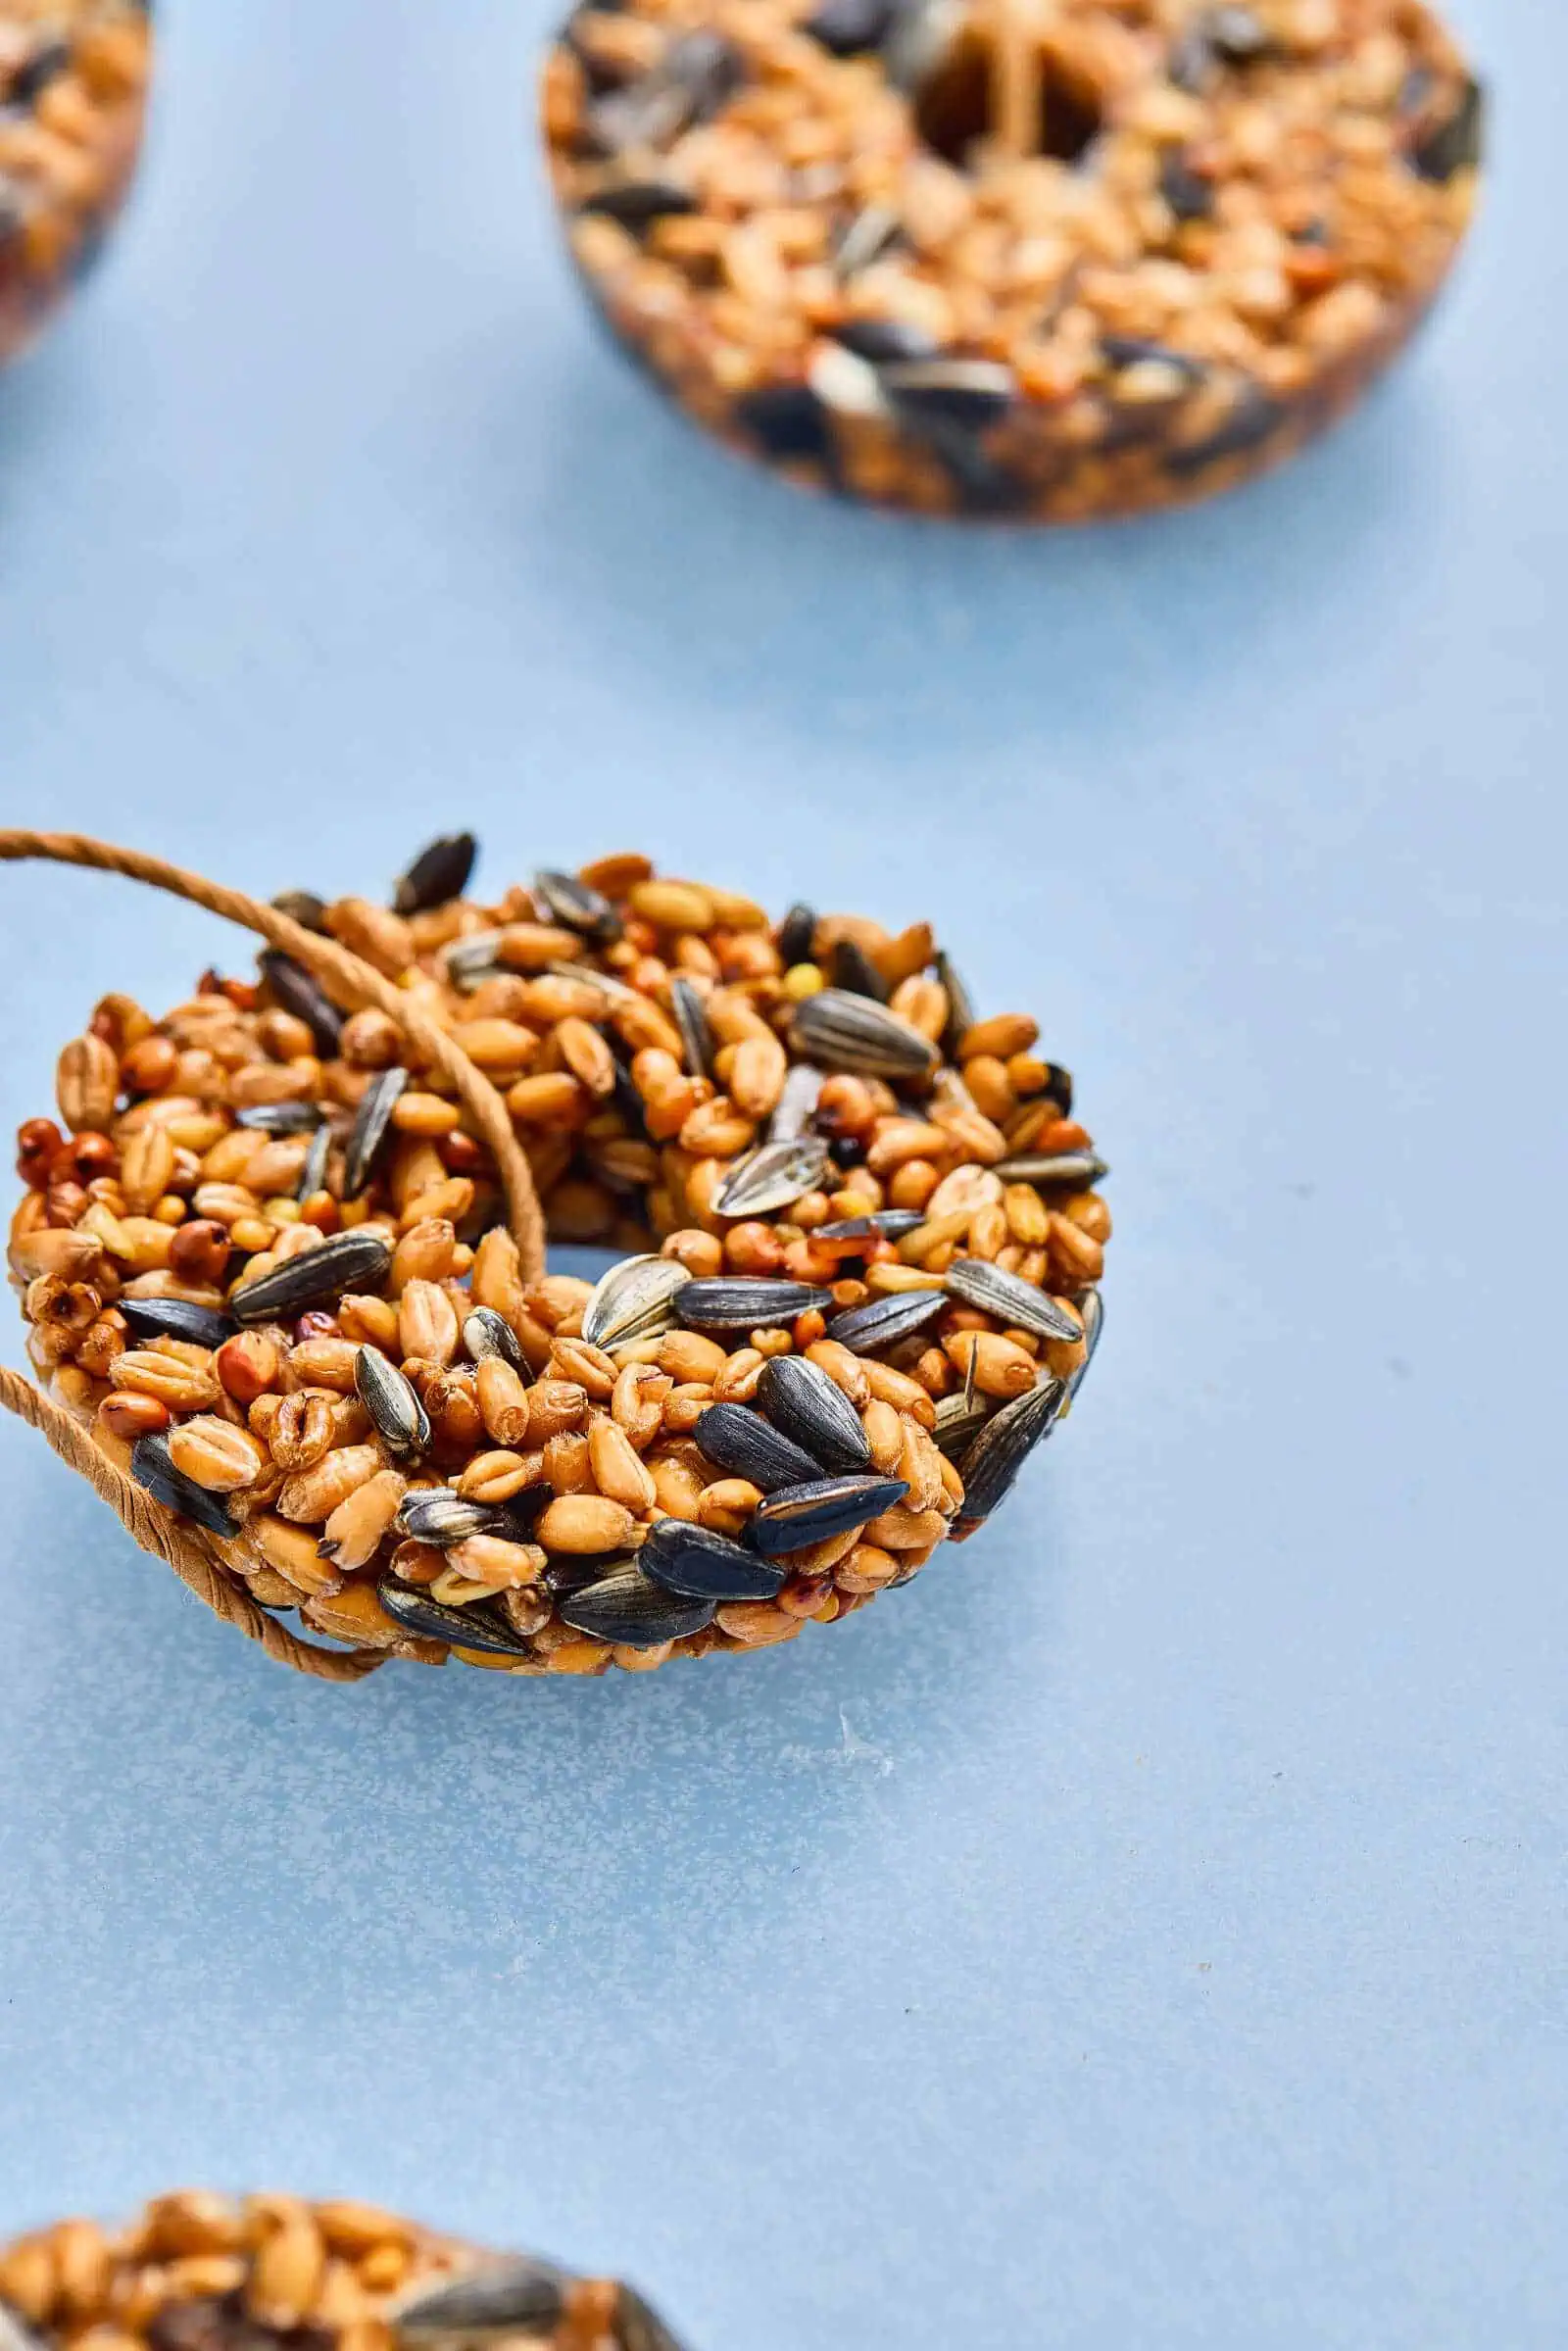
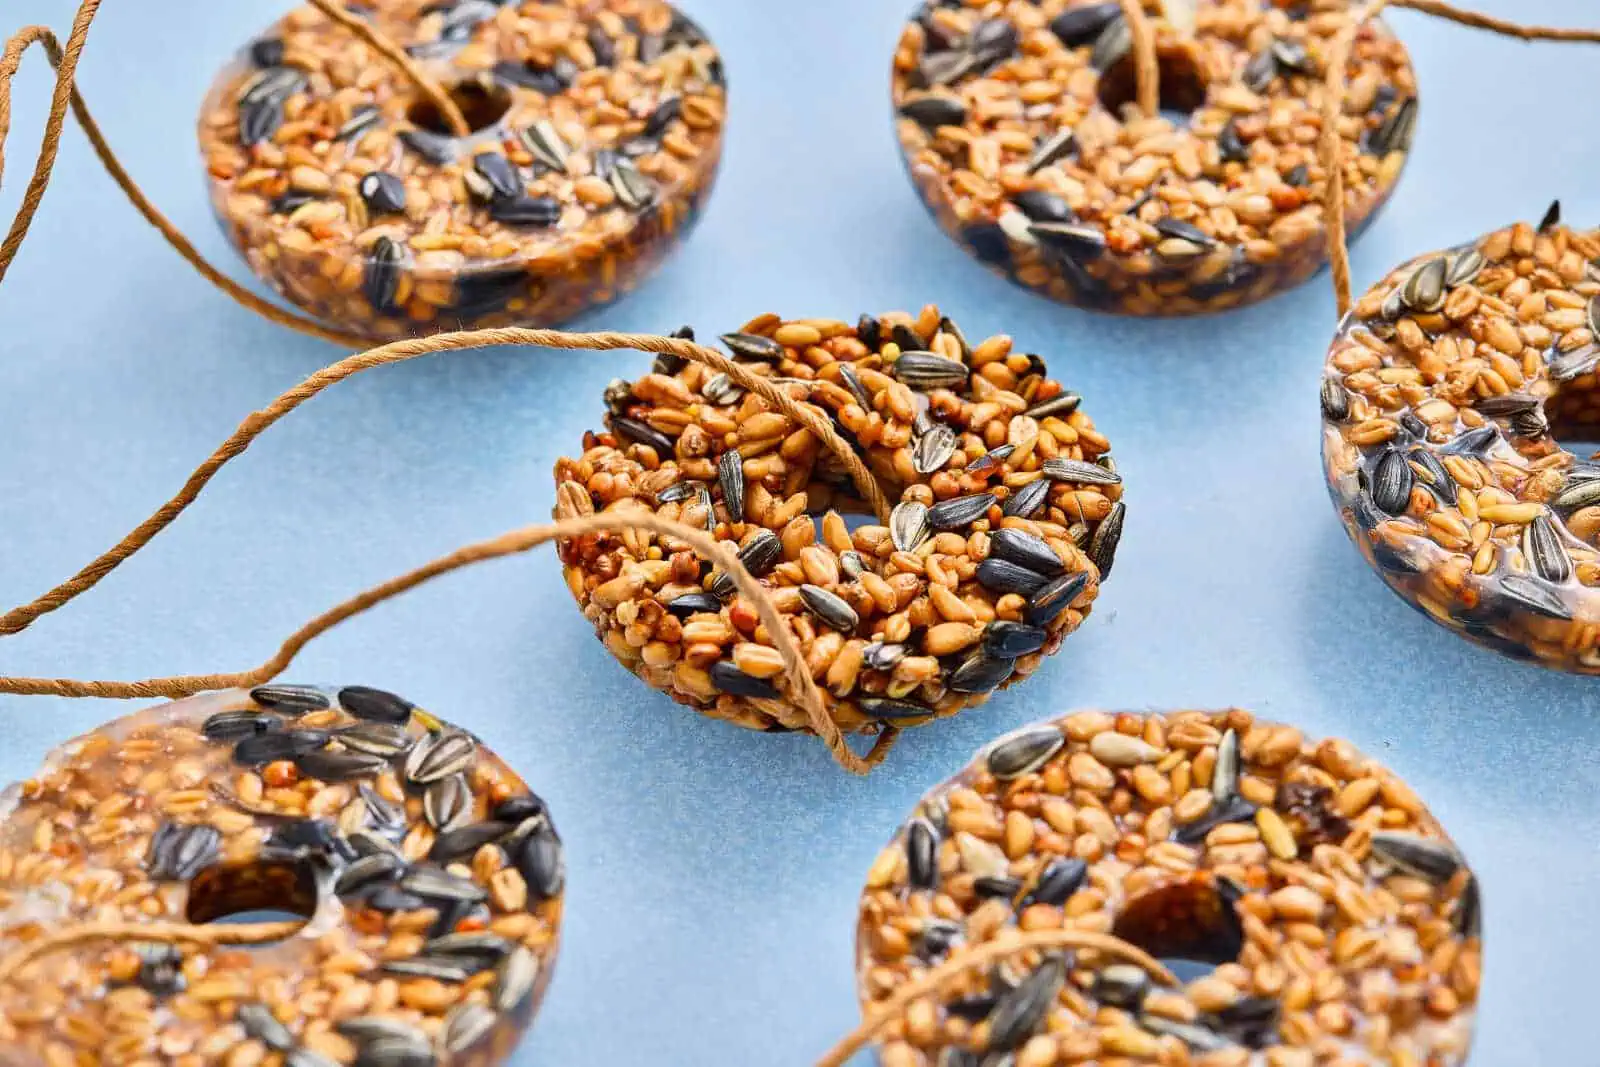
Spoon the seed mixture into each mold cavity and press it down firmly. You want to pack it tightly so the ornaments hold their shape once set.
Let the molds sit undisturbed until the mixture becomes completely firm. This usually takes a few hours, but overnight is best for sturdiness.
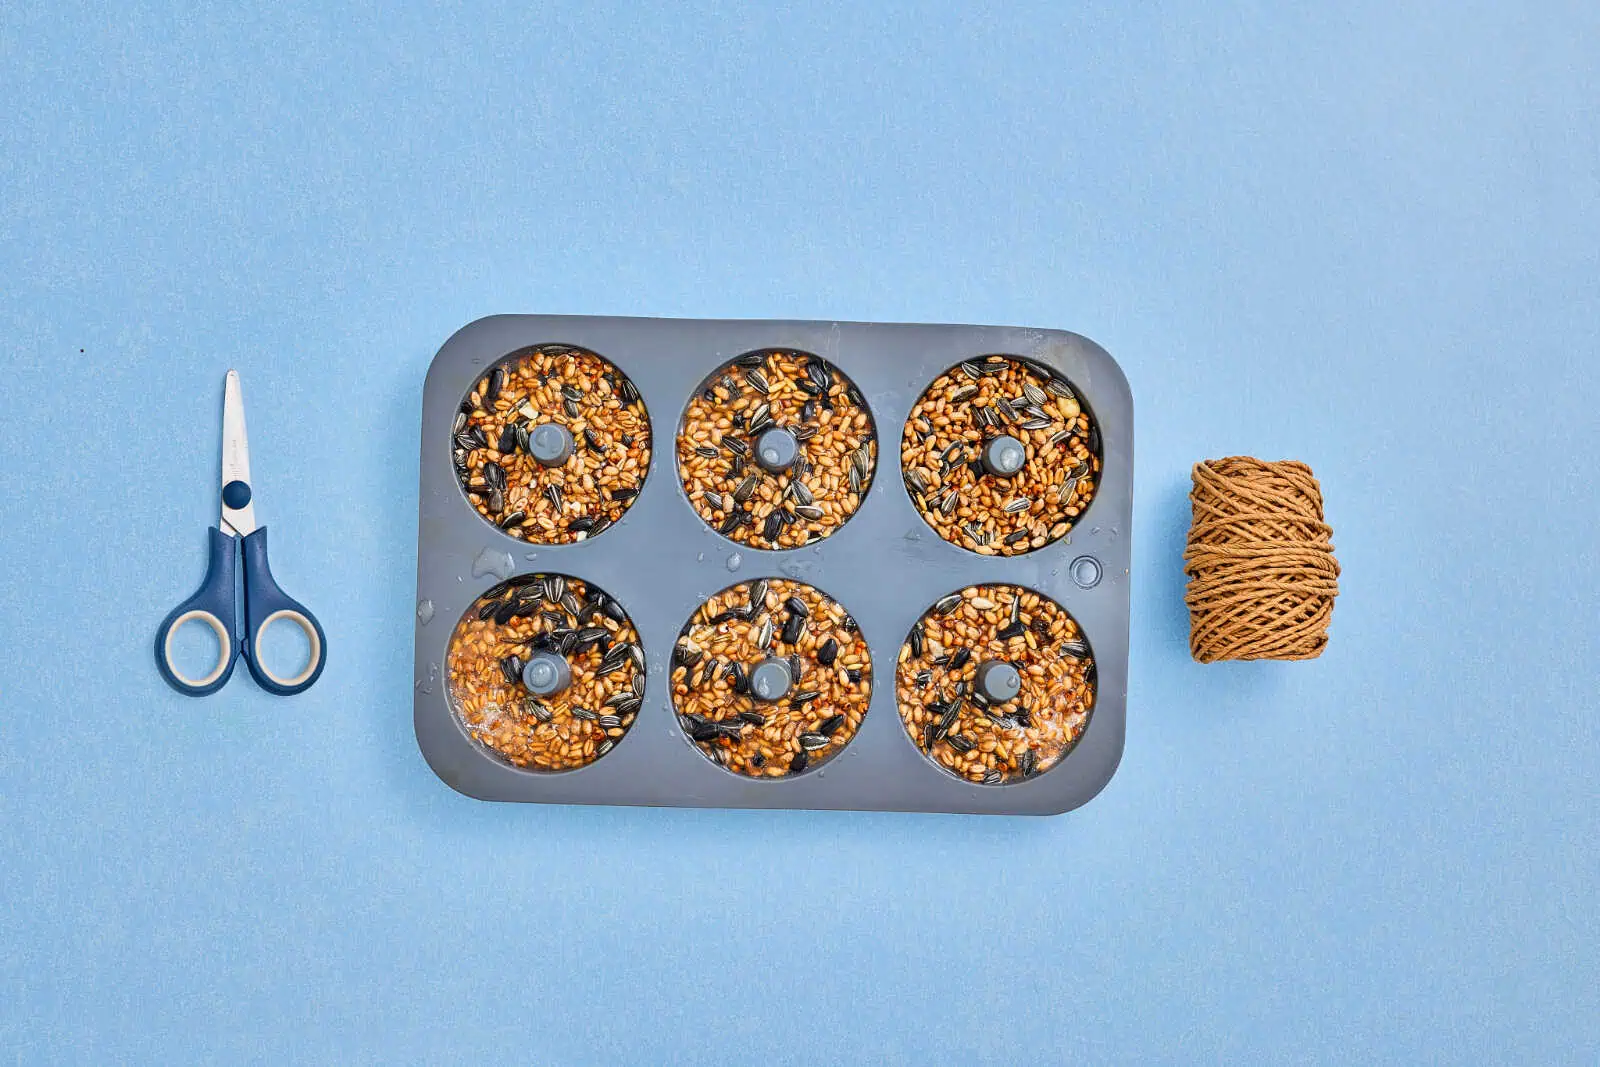
4. Prepare the String
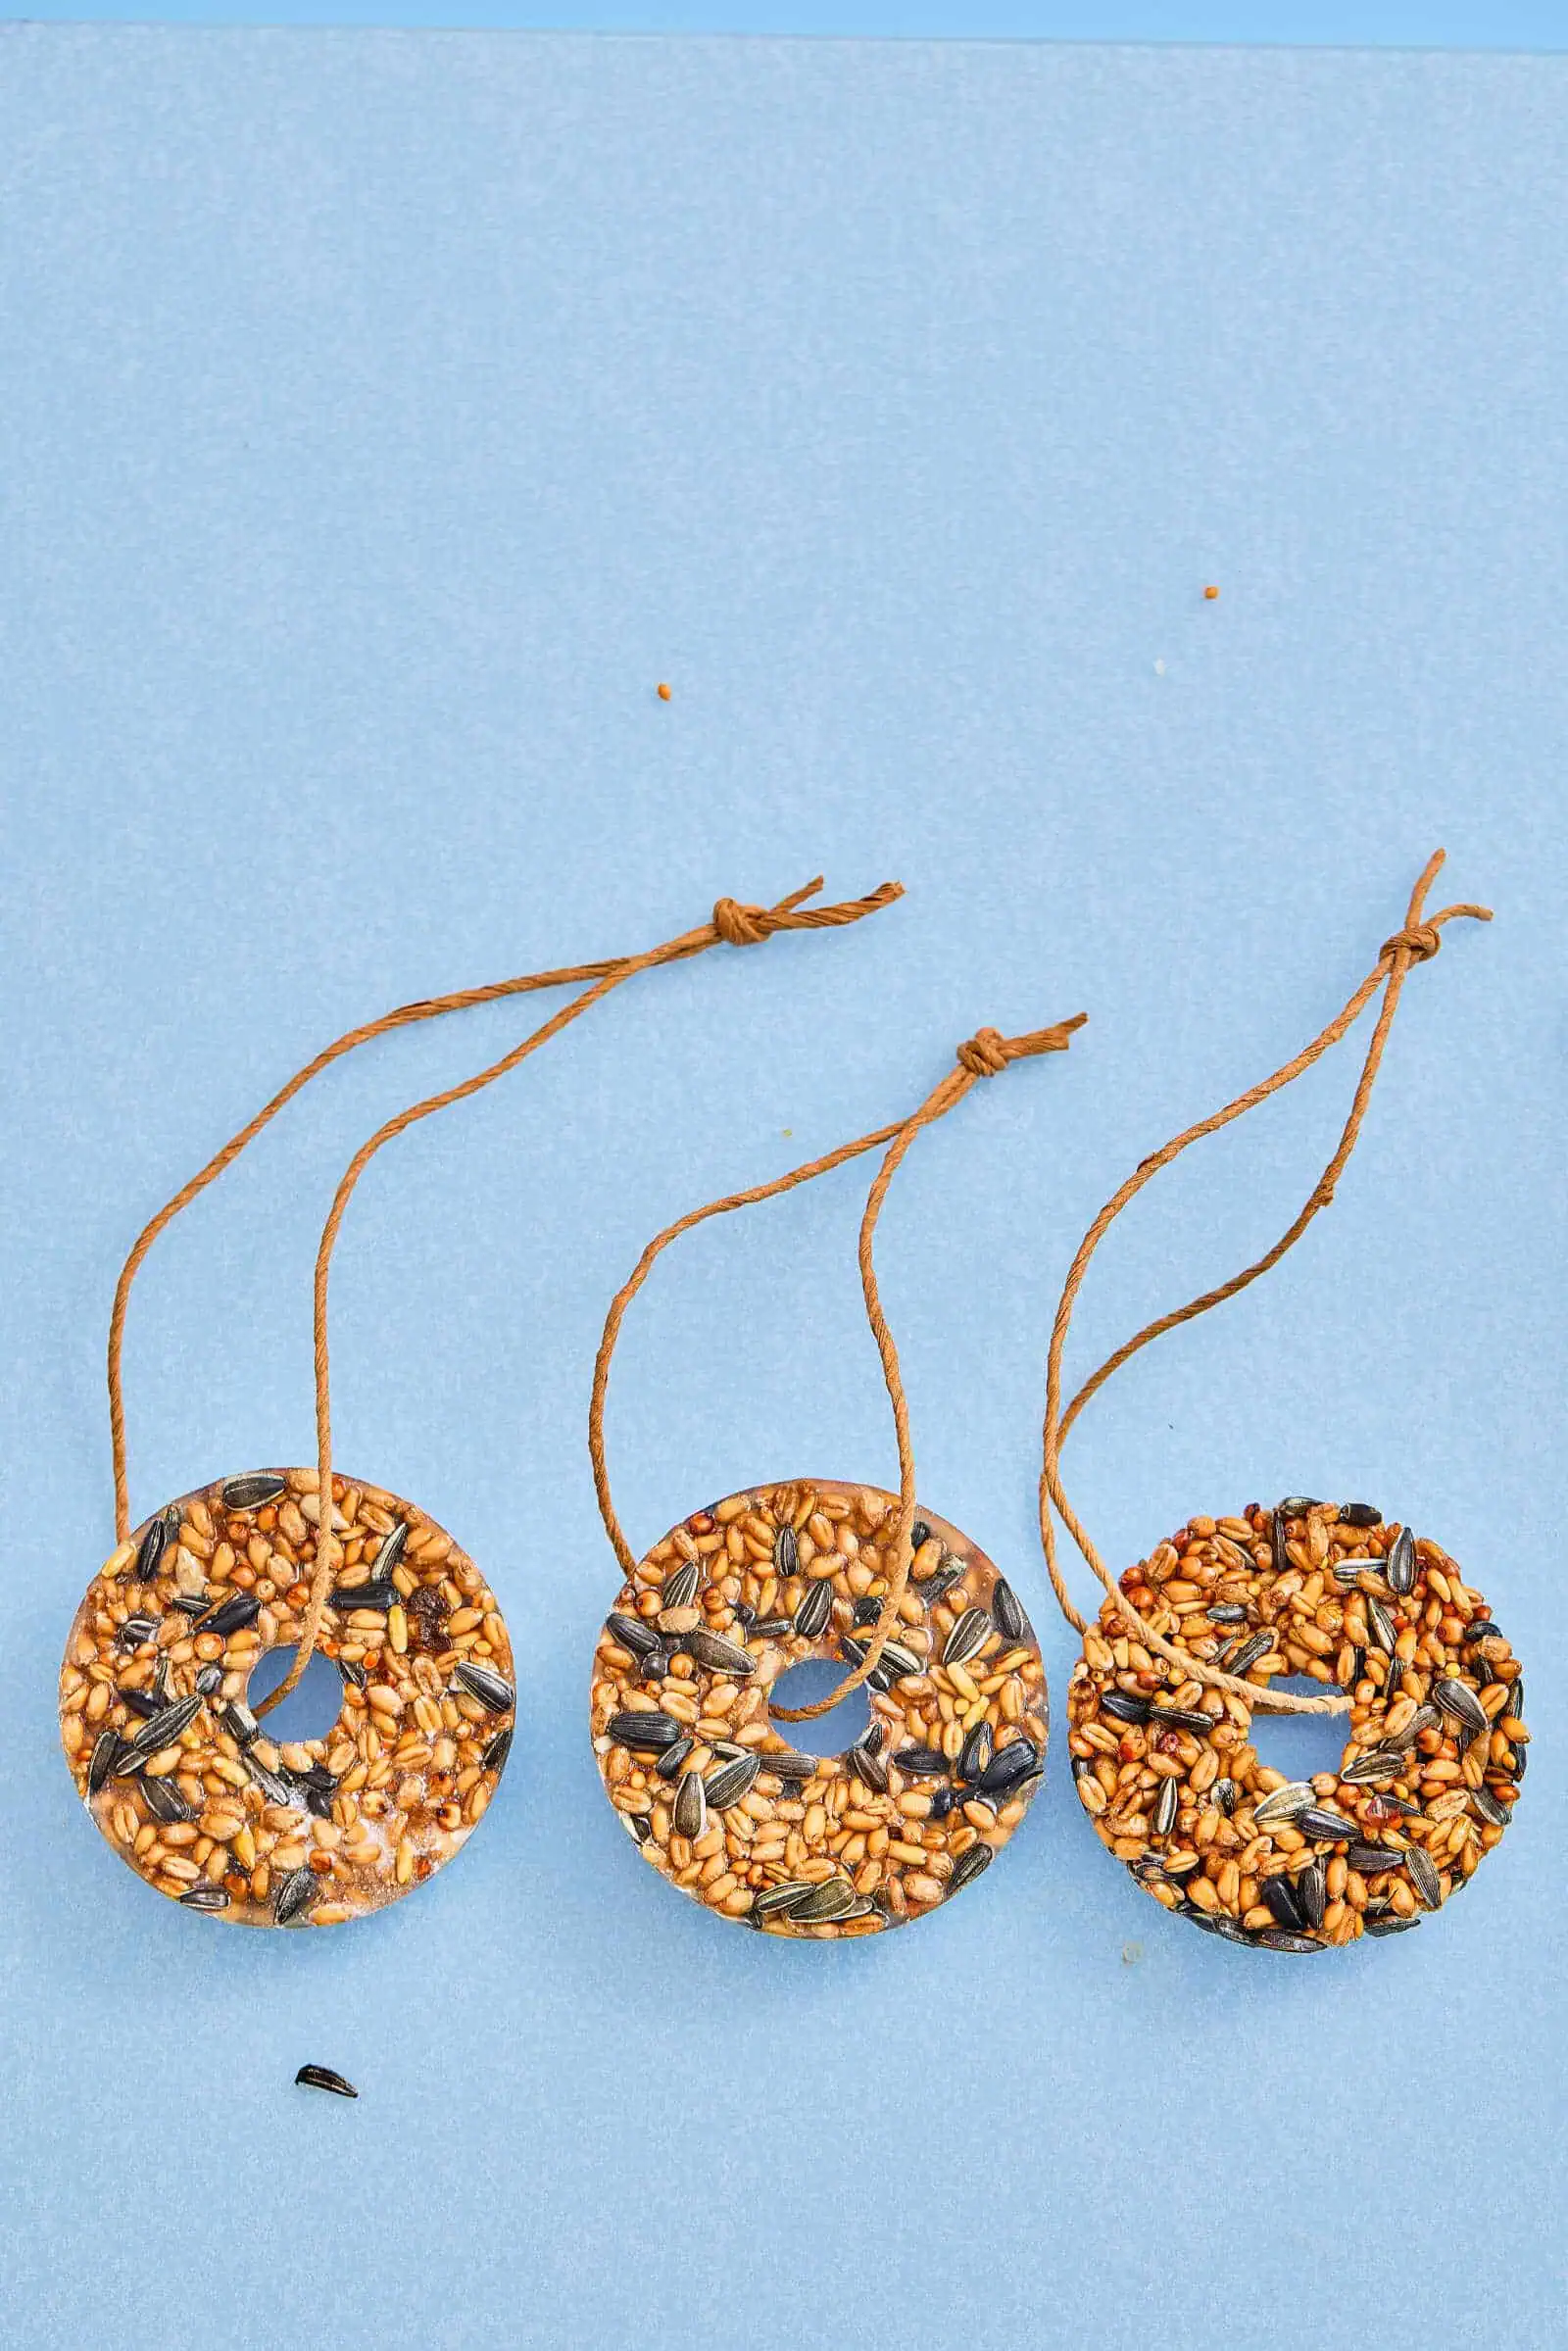
While your ornaments are setting (or once they’re fully firm), cut your brown paper string into 6 equal pieces.
Each piece should be about 8 inches (20 cm) long—perfect for hanging on branches.
5. Add Hanging Loops
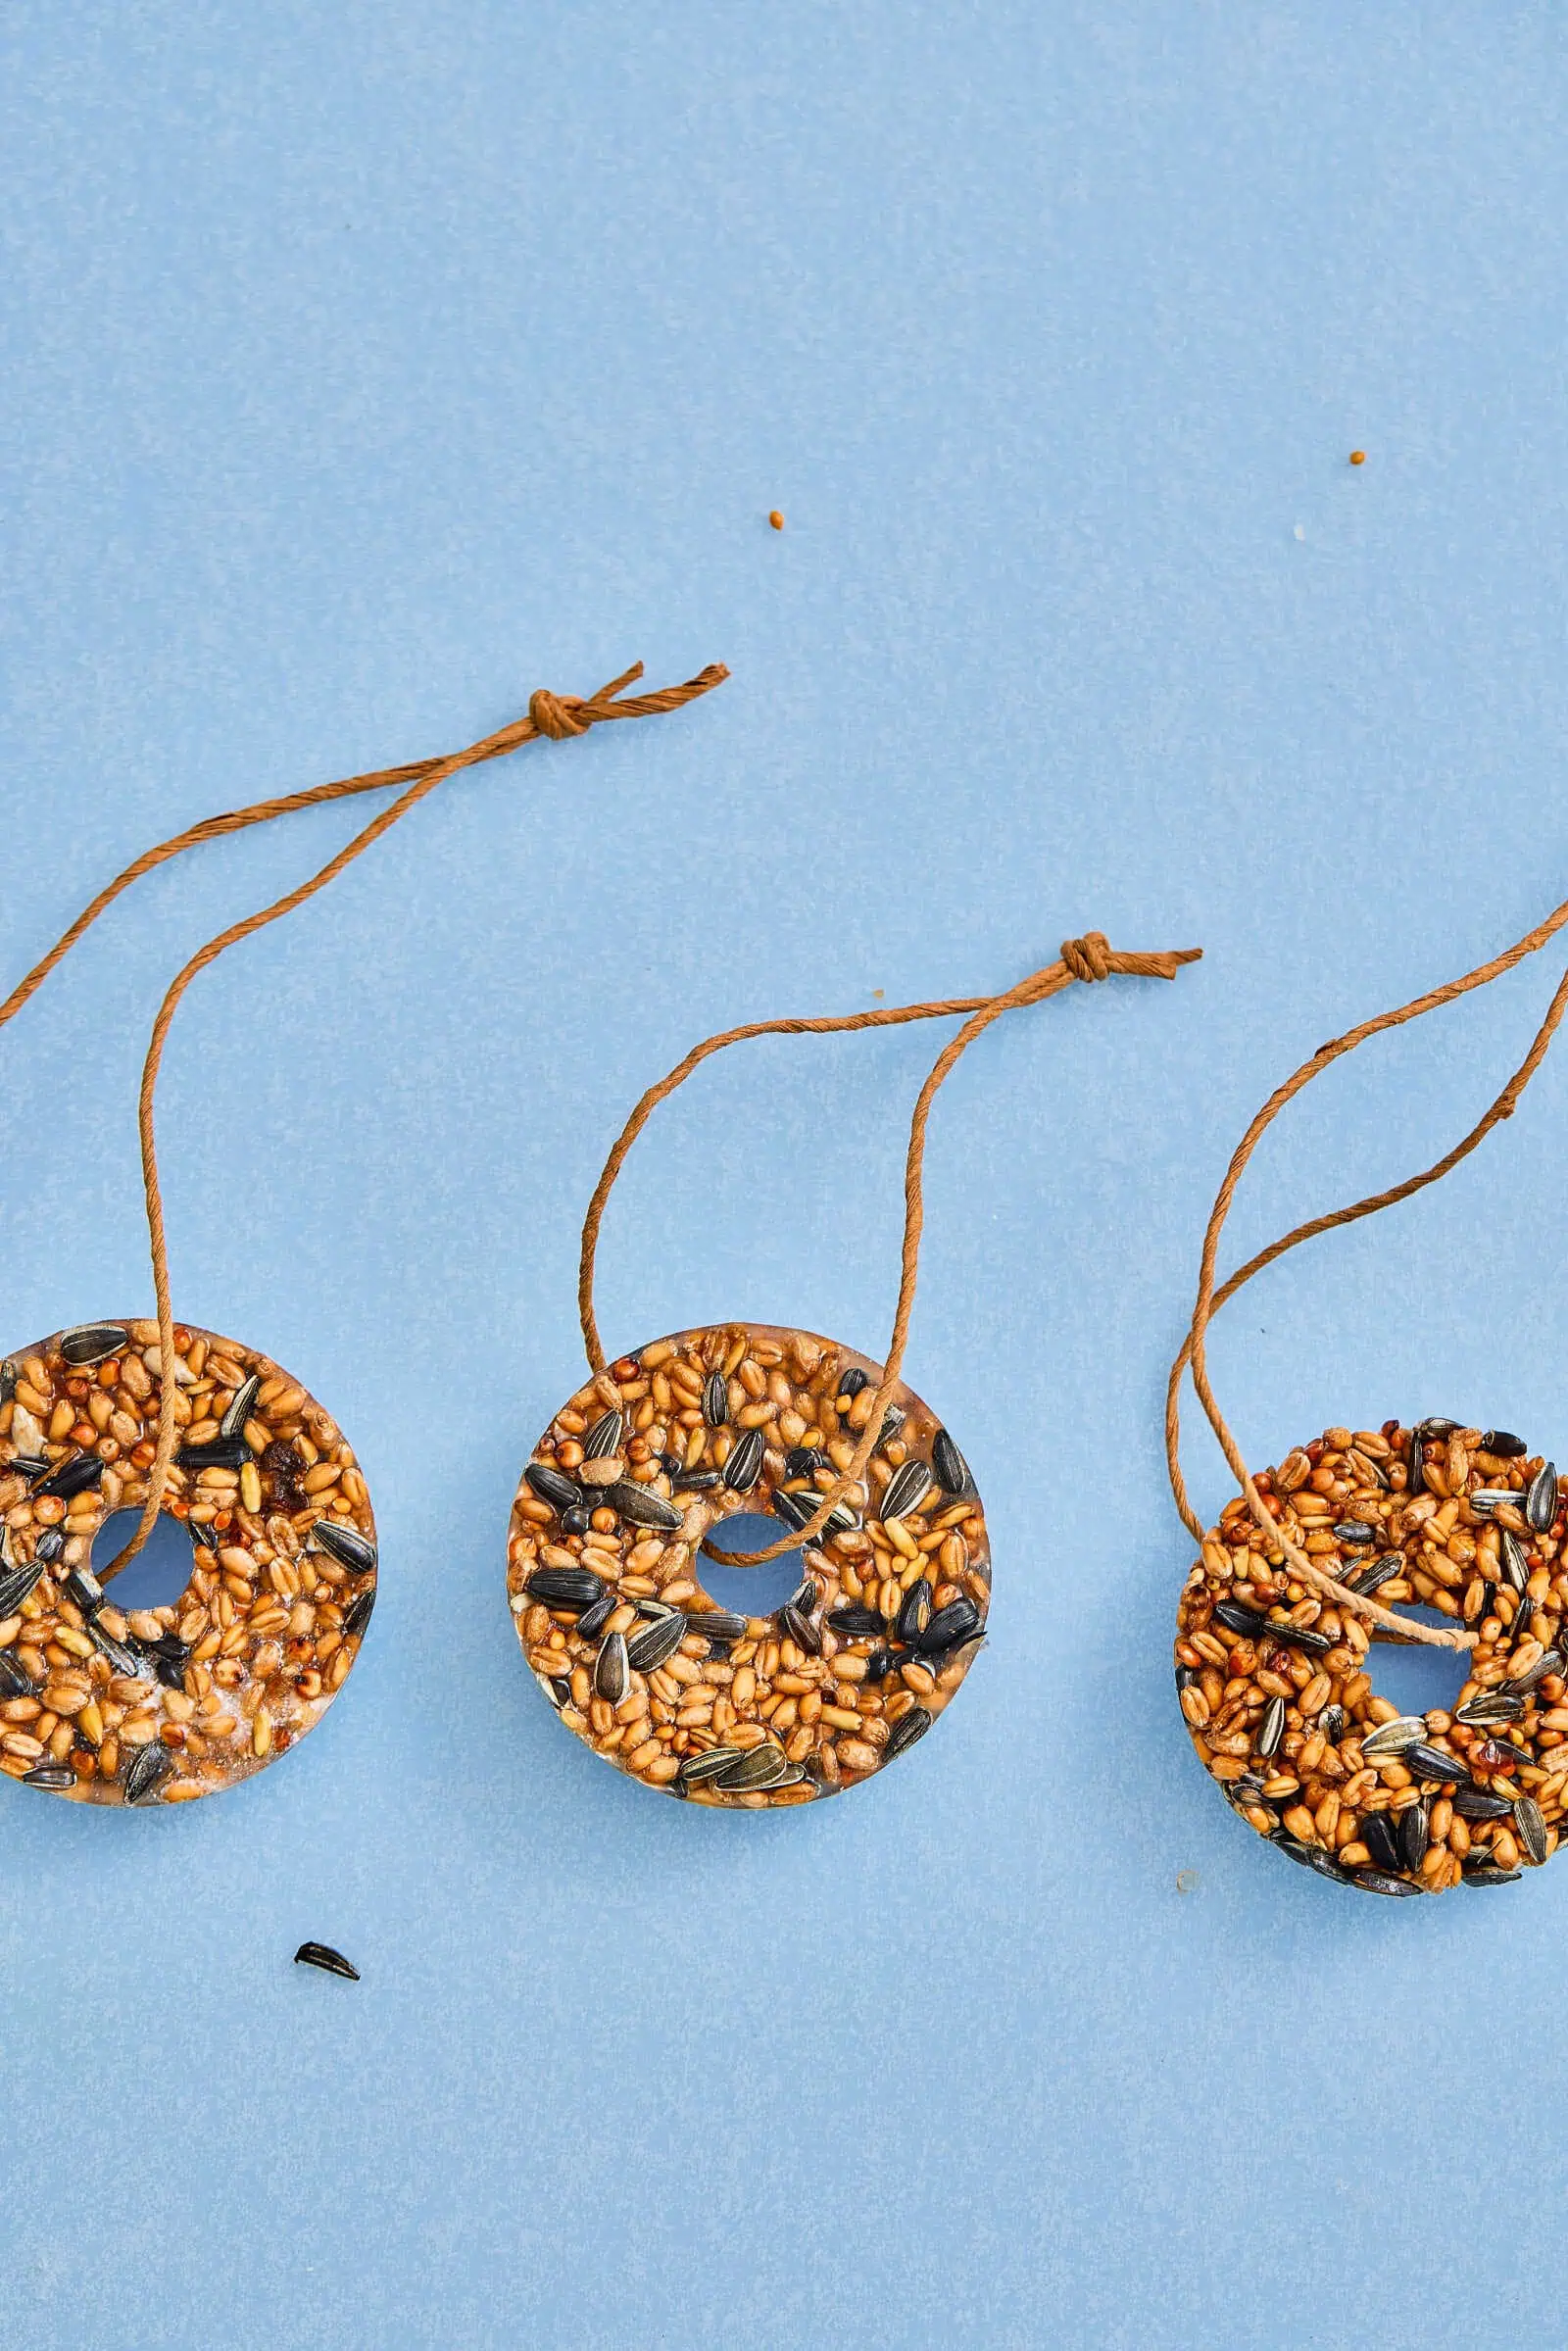
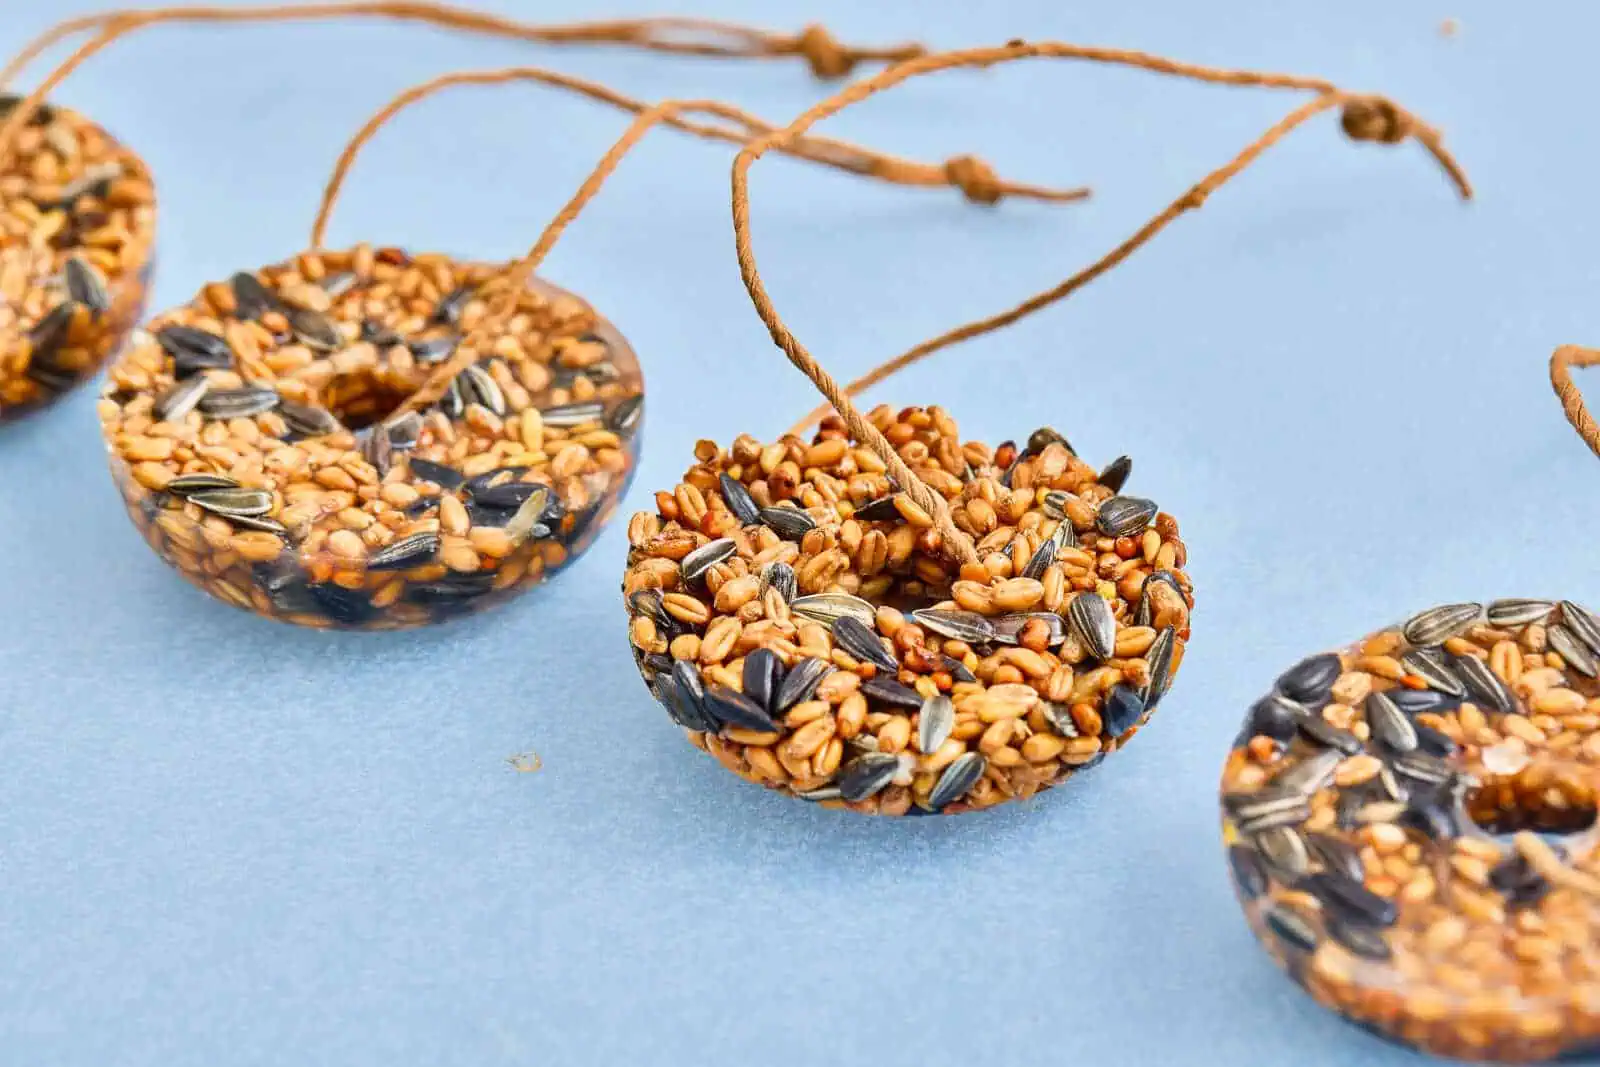
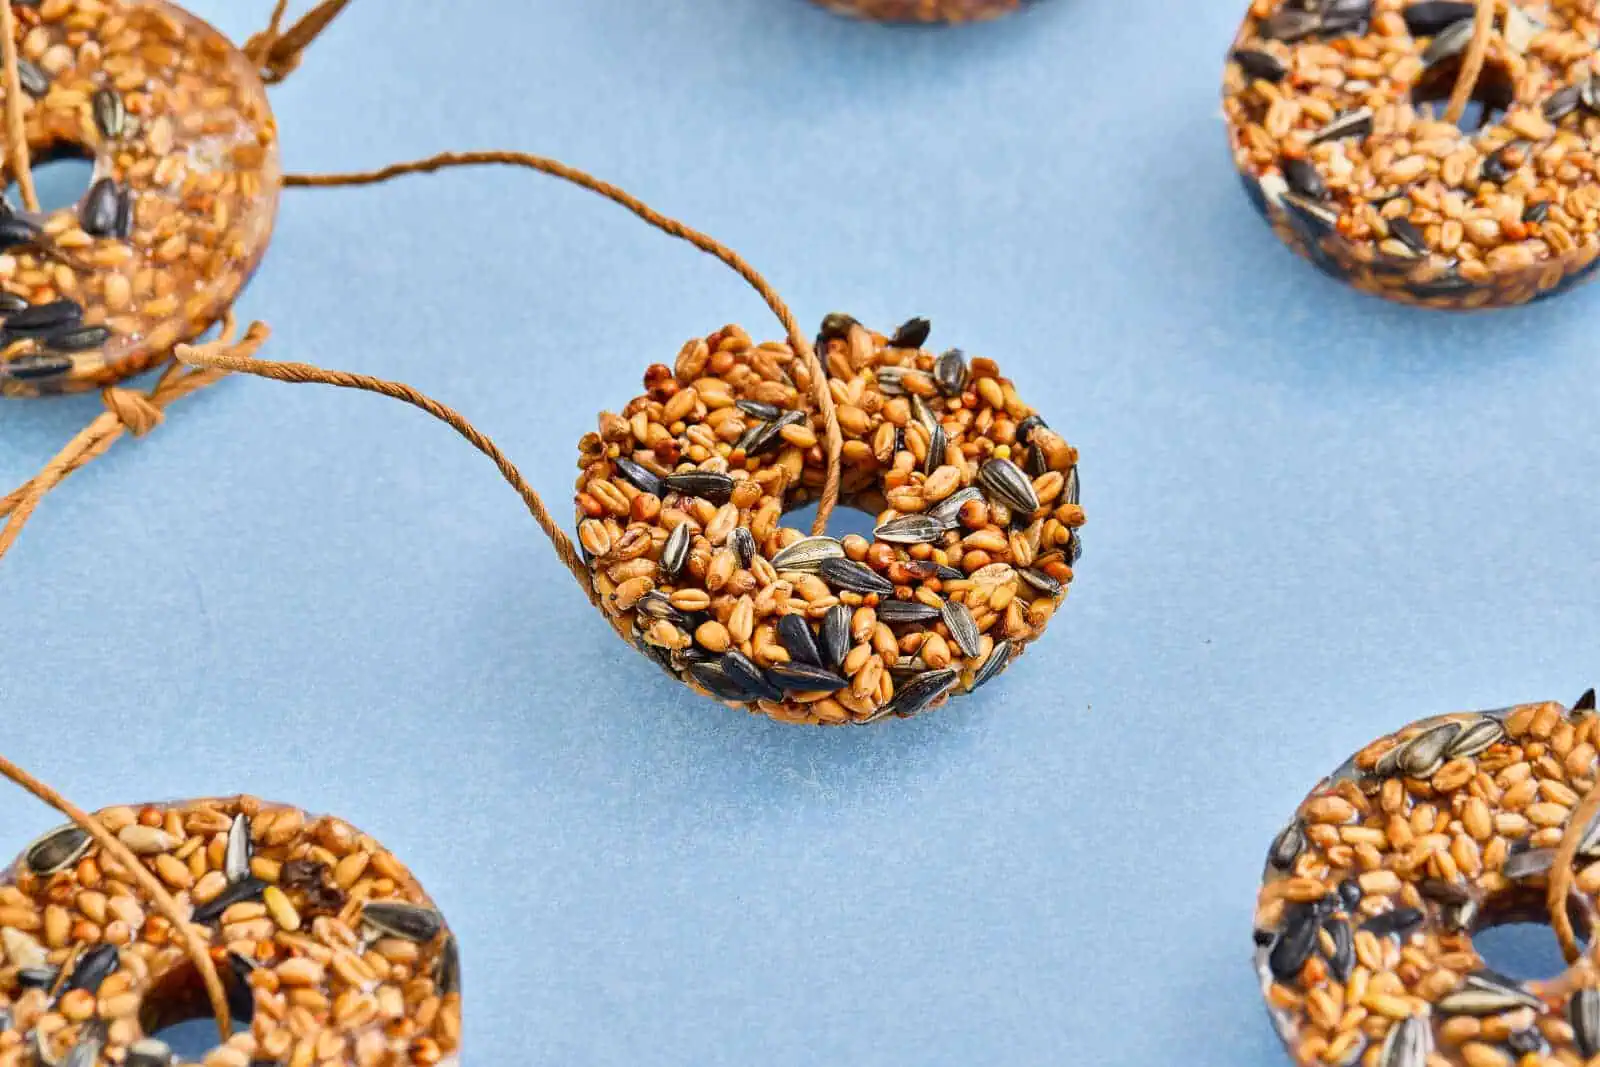
Once your seed ornaments are fully hardened, gently remove them from the mold.
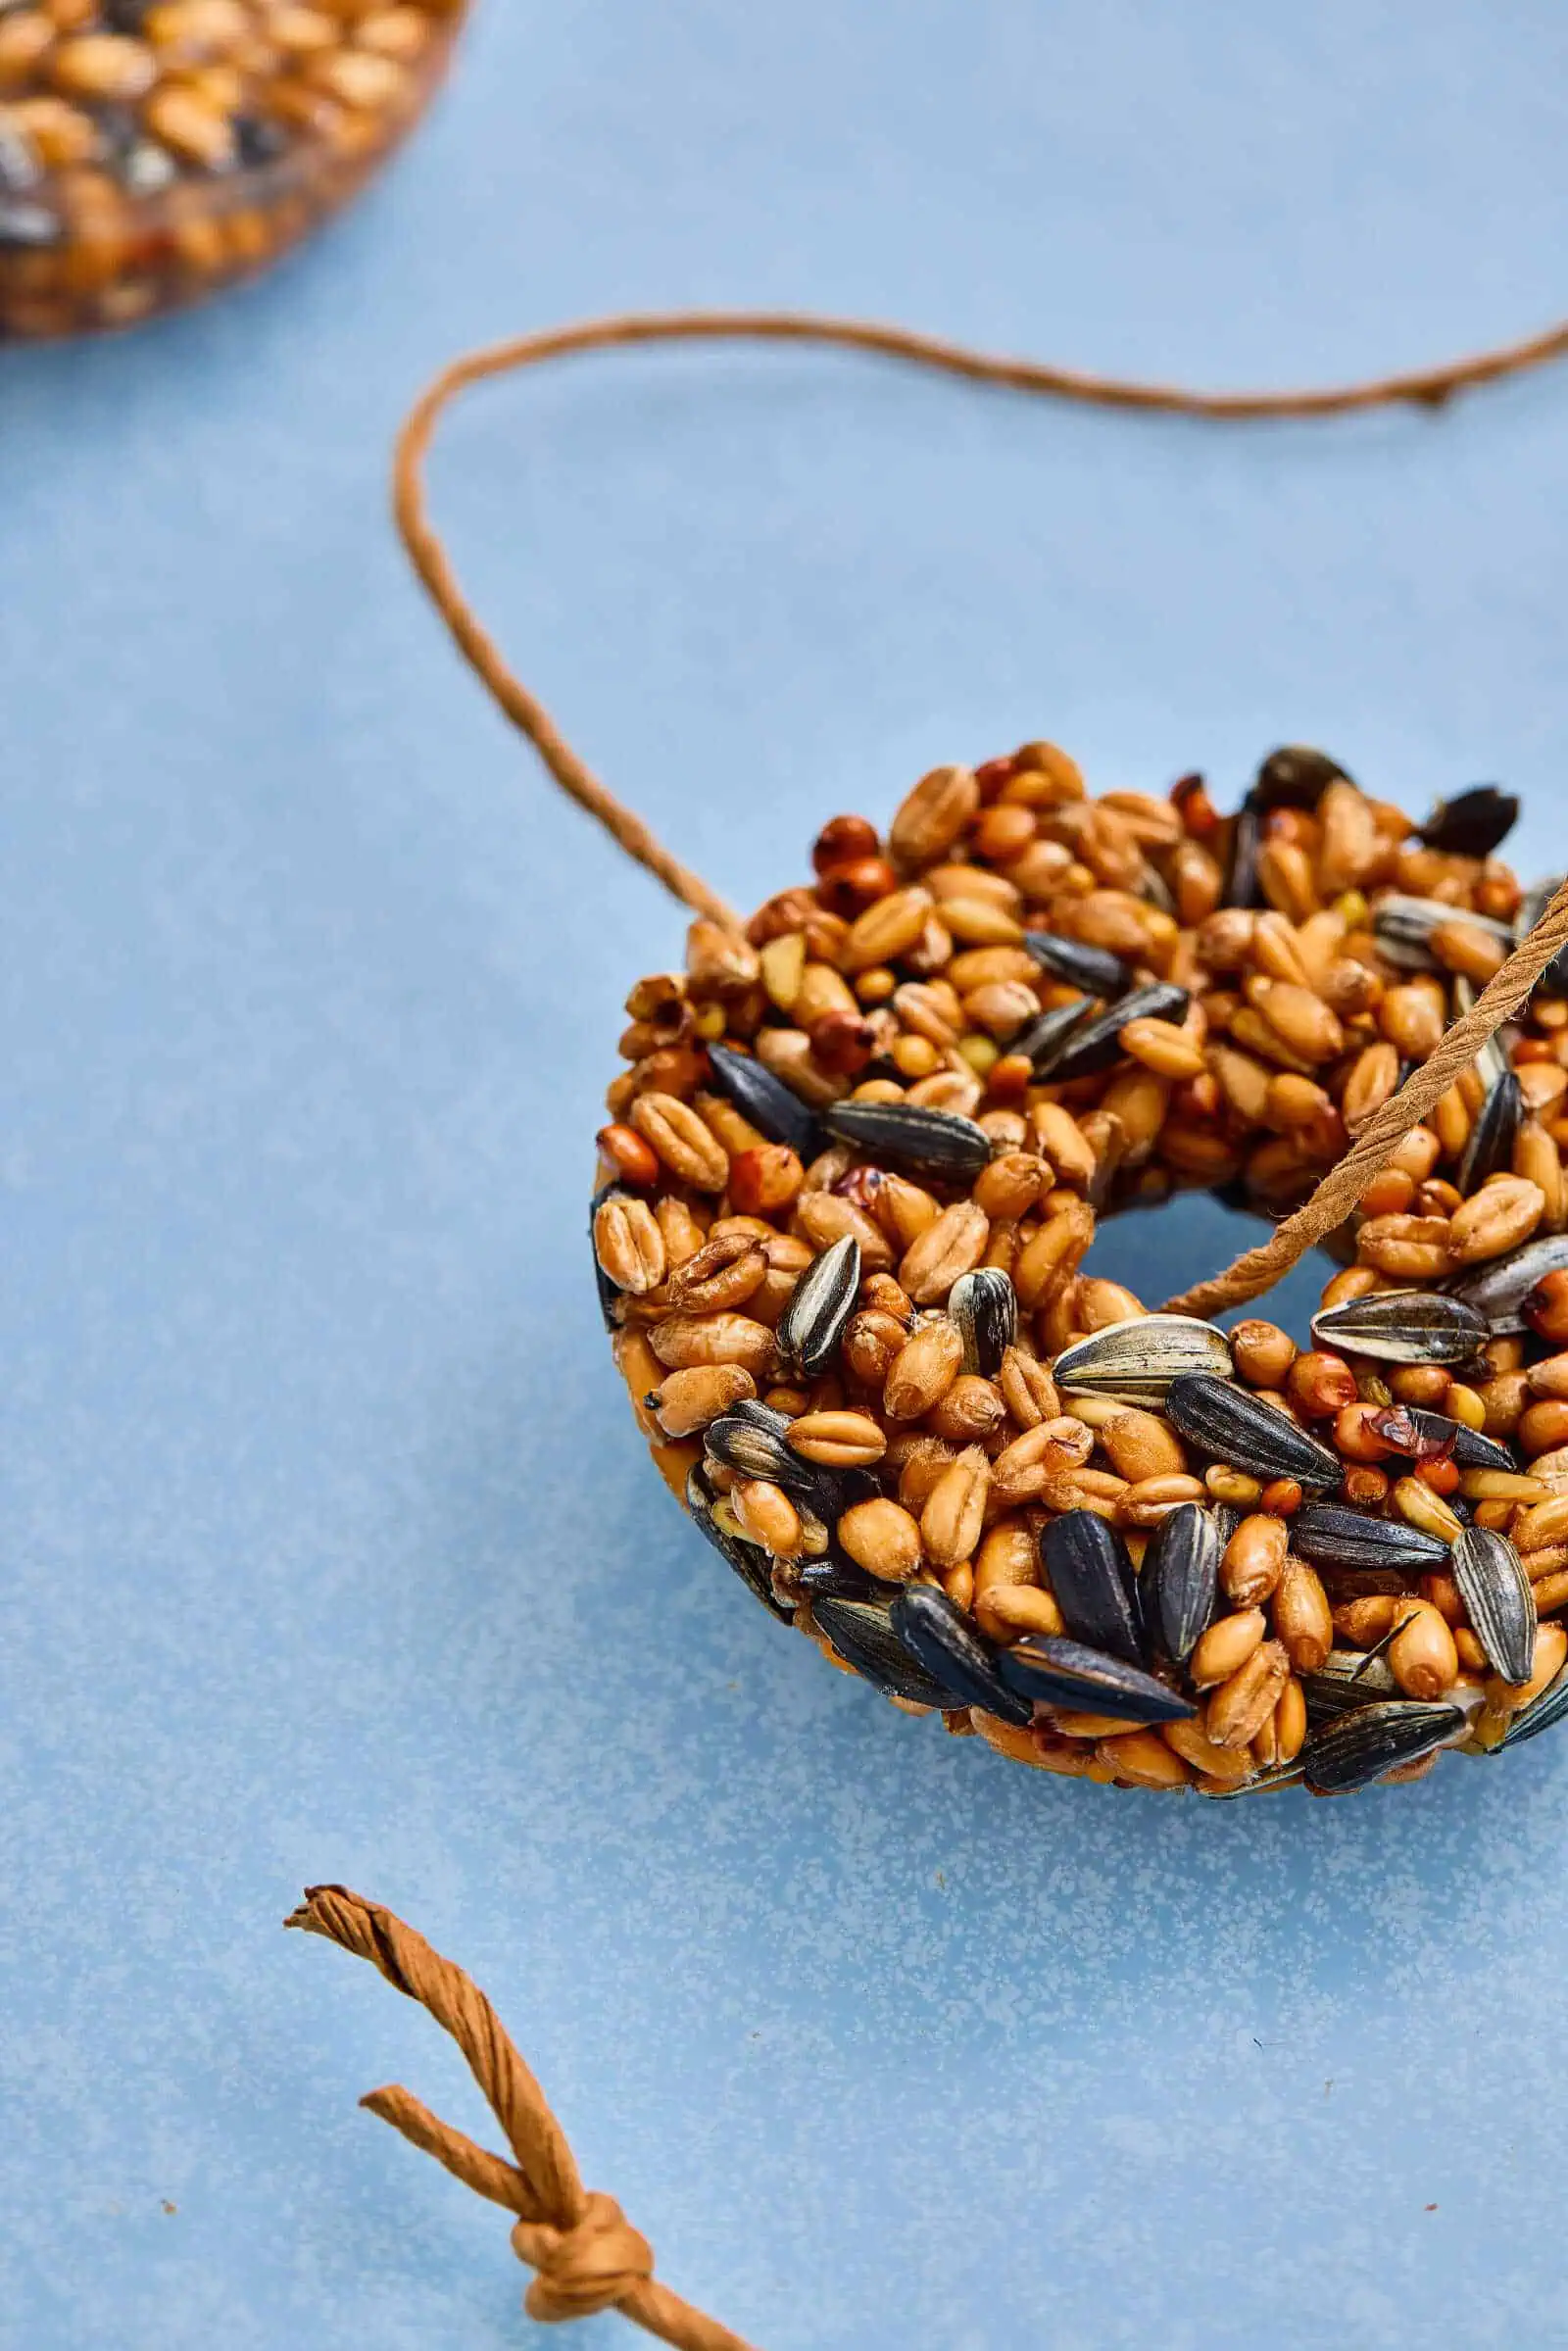
Thread a piece of string through the center hole of each ornament and tie a secure knot to create a loop.
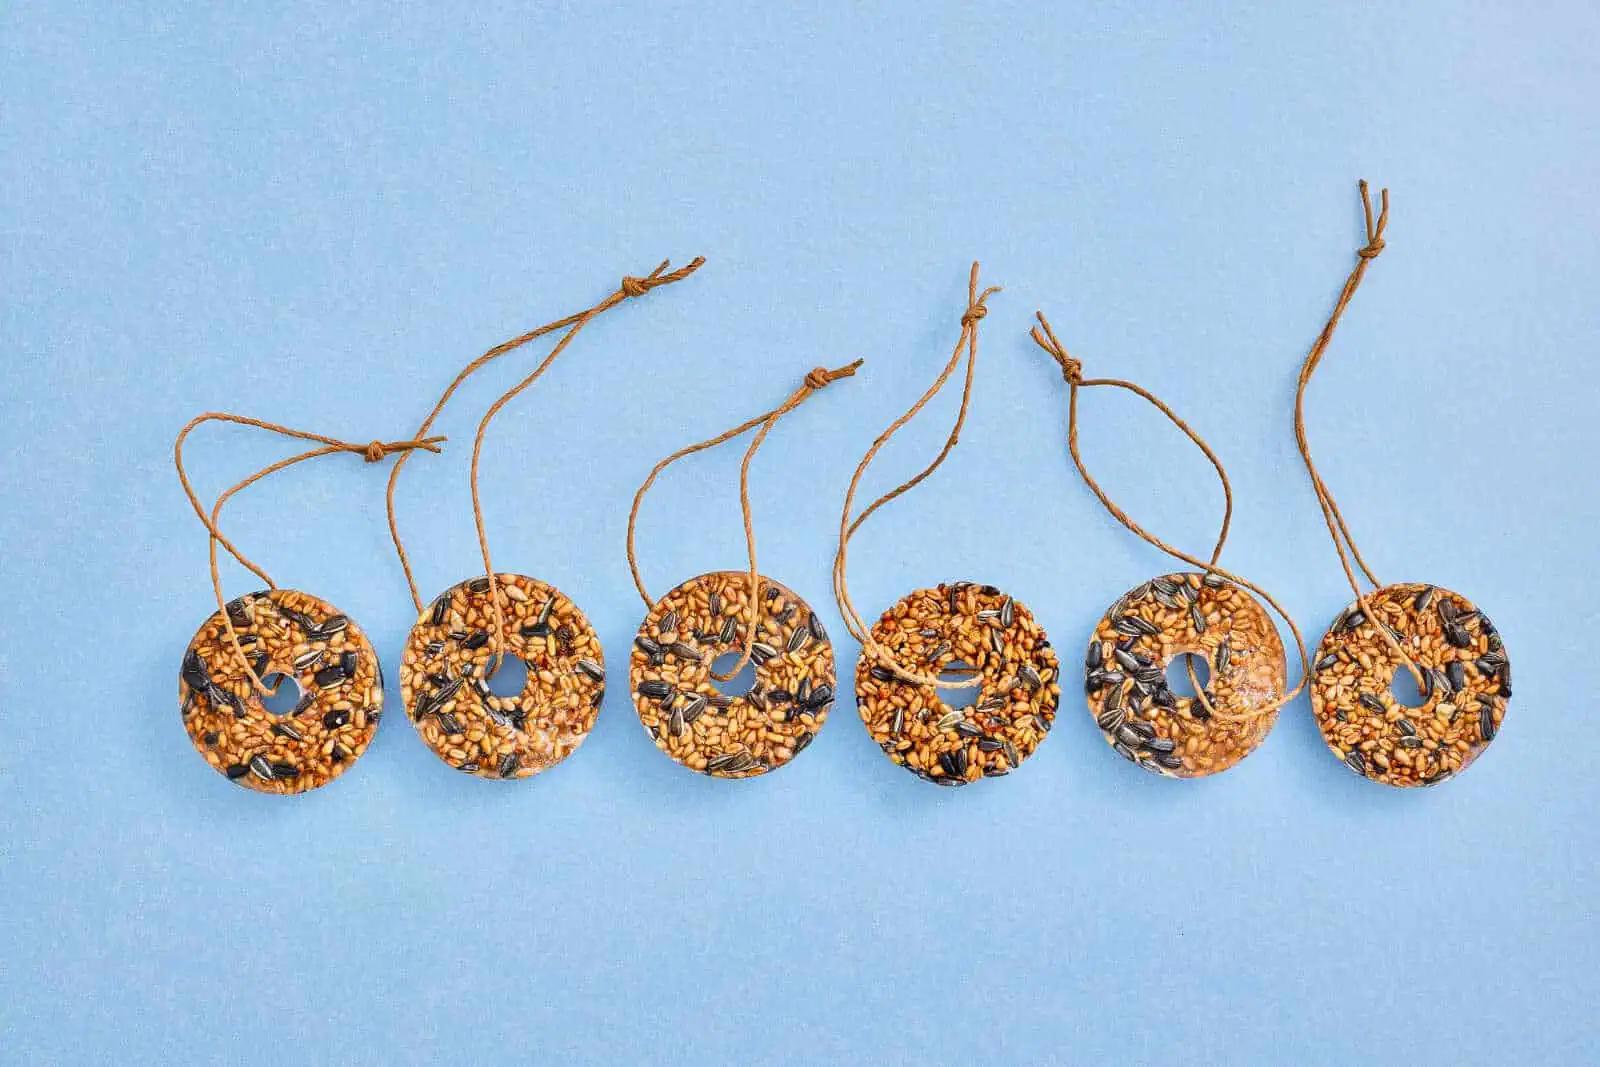
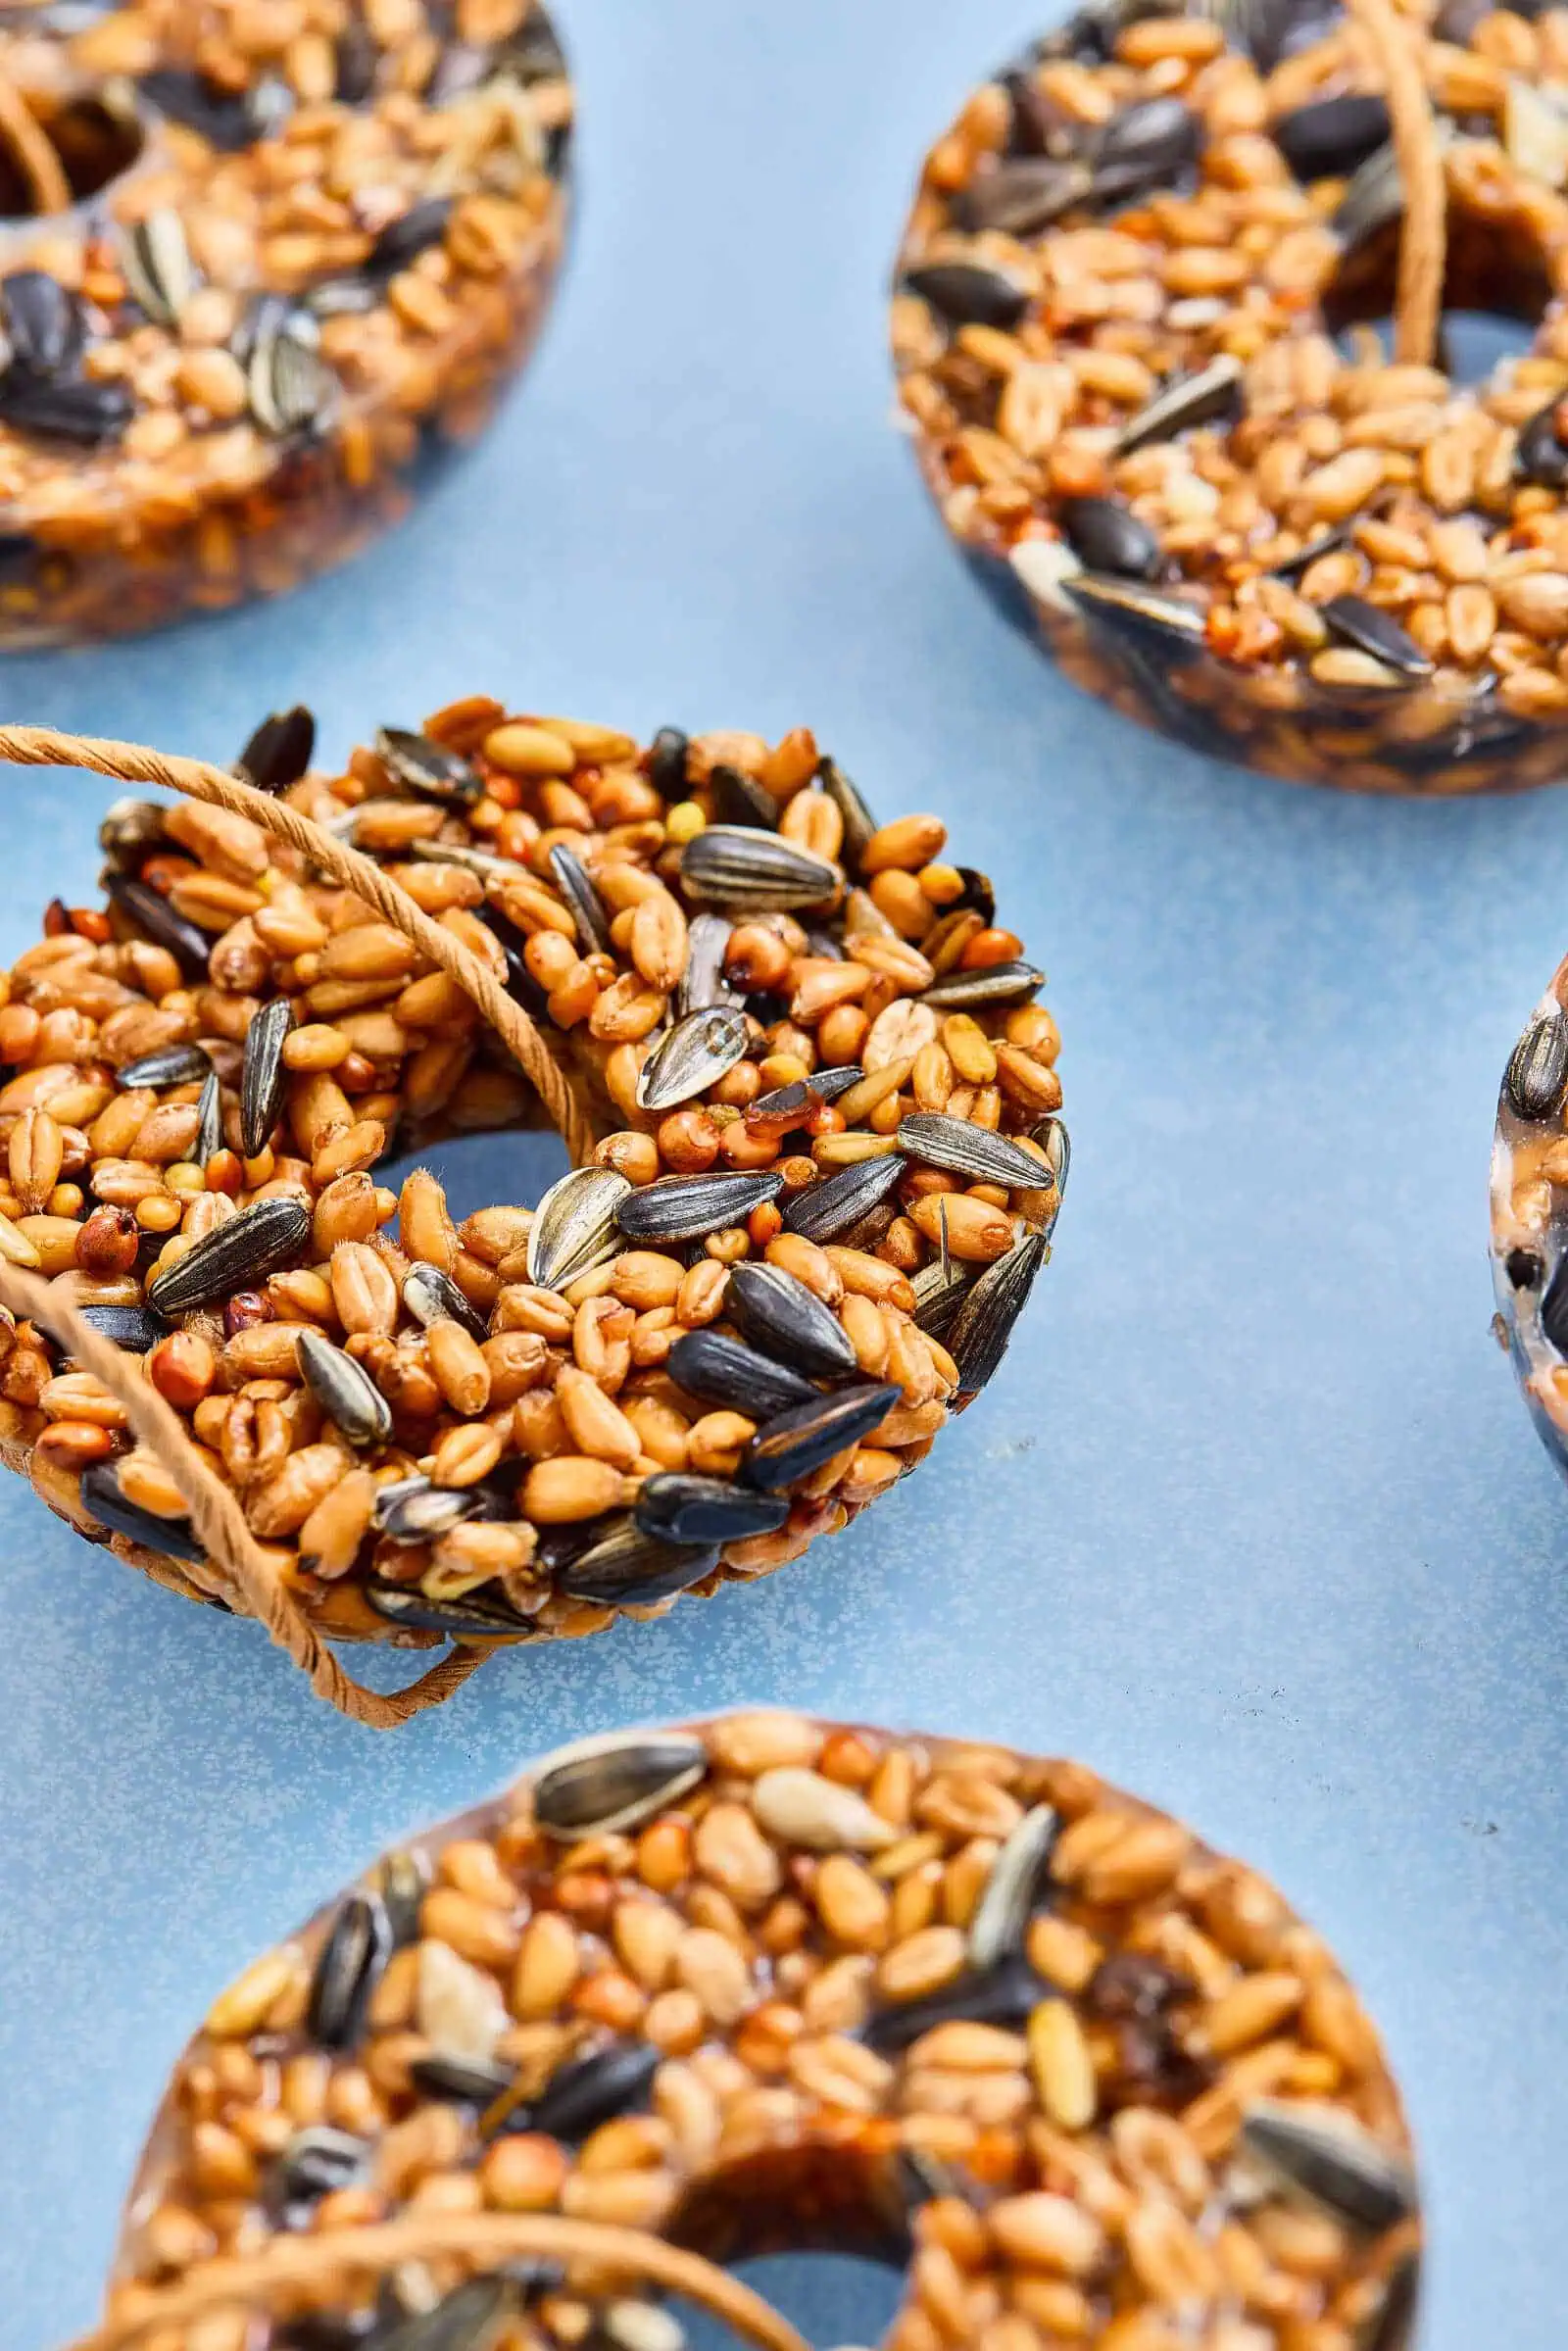
6. Done!
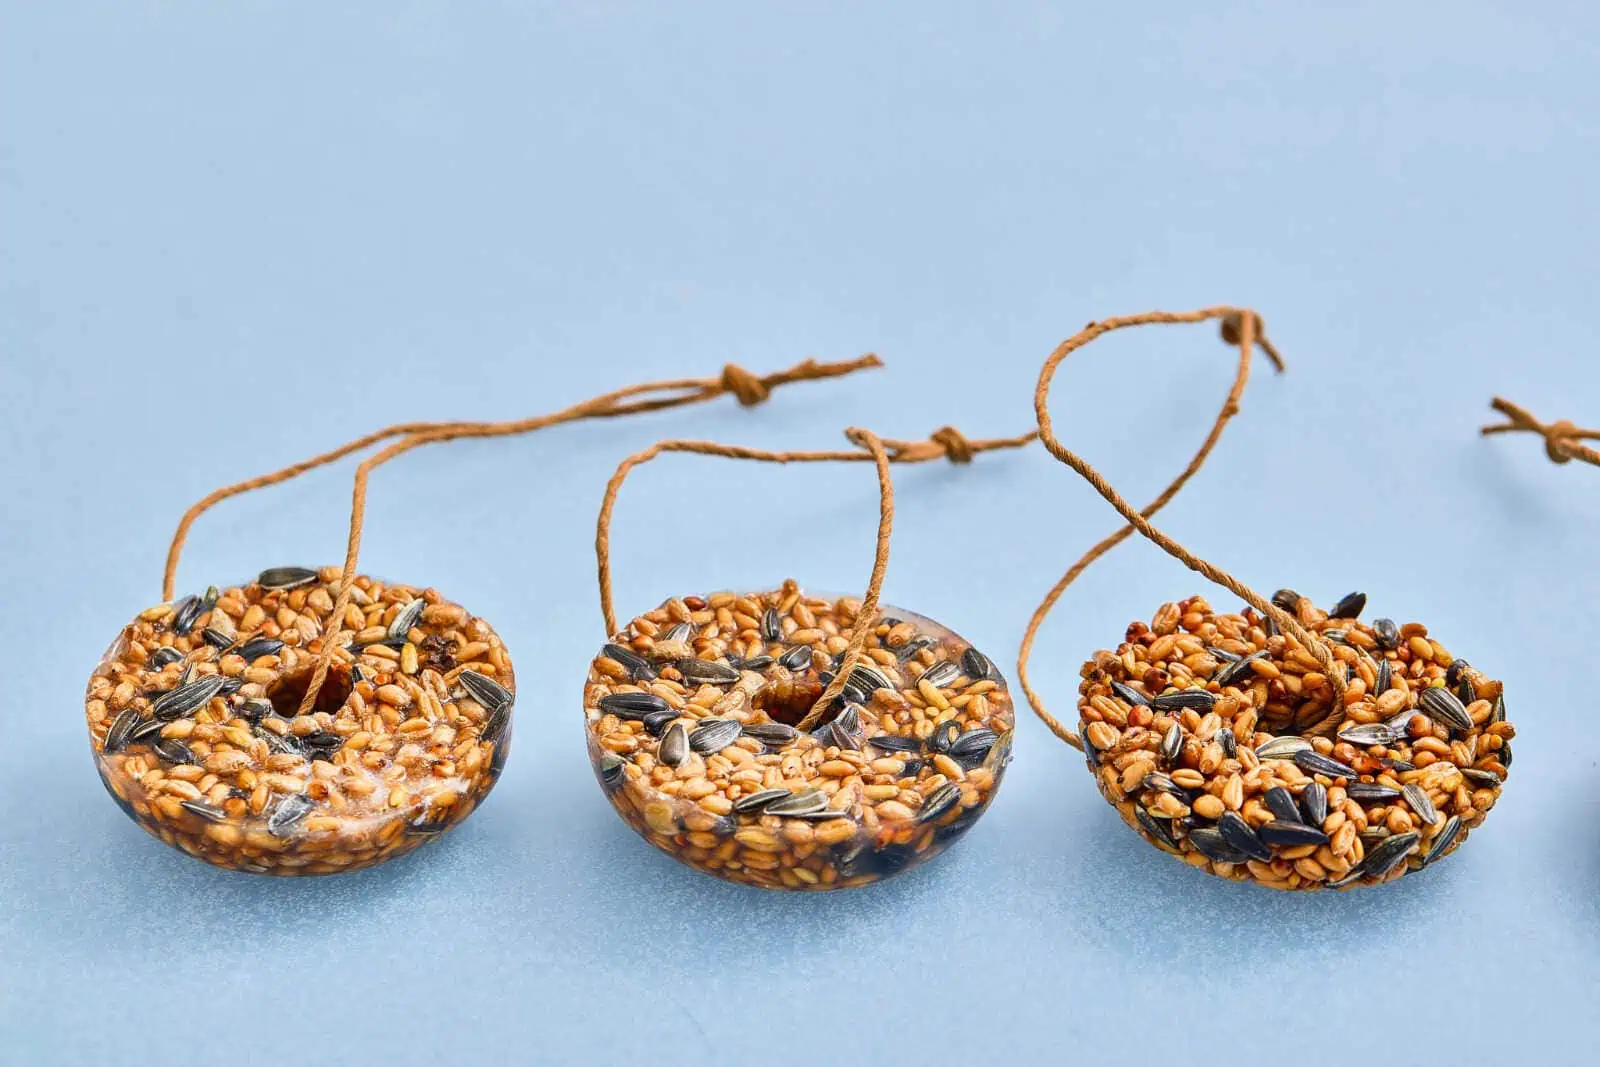
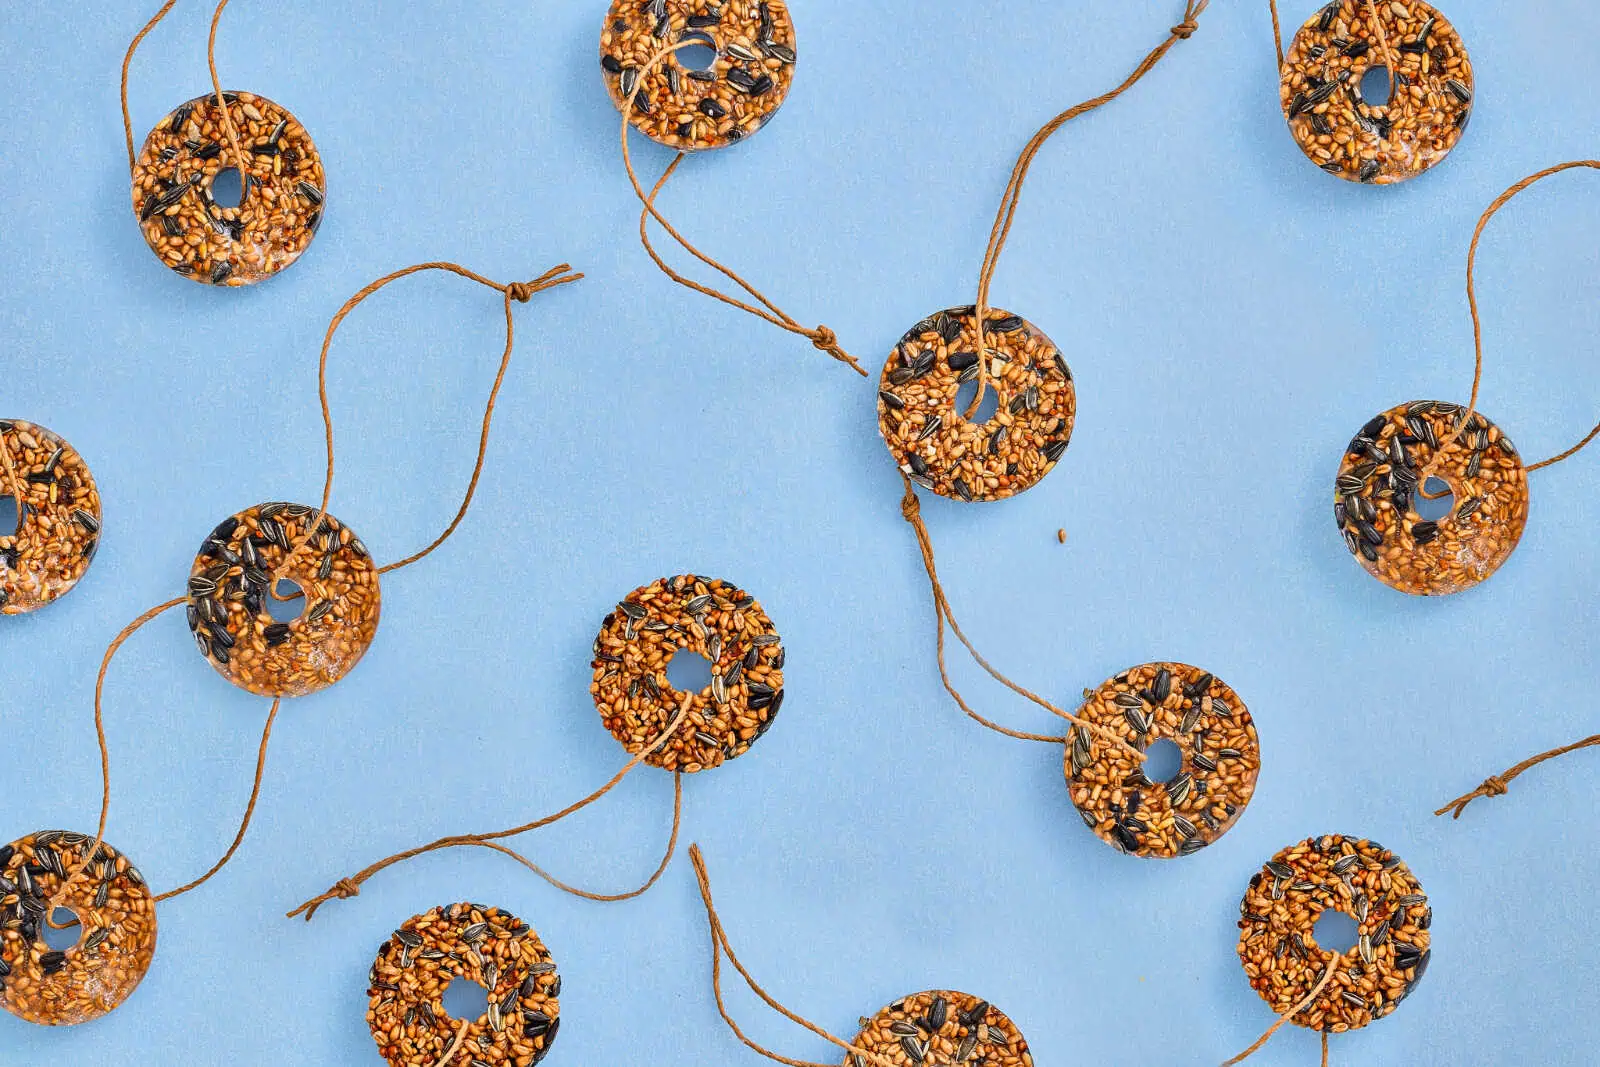
Your bird feeder seed ornaments are ready to hang outside!
Choose tree branches, fence posts, or hooks where birds can easily land and enjoy. Then sit back and watch your backyard come to life.
Tips for Success
To make sure your bird feeders turn out perfectly, keep these tips in mind:
- Press firmly: The tighter you pack the mixture, the better it will hold together.
- Let them fully dry: Don’t rush this step—overnight drying is ideal.
- Use sturdy string: Paper string works great, but make sure it’s tied securely.
- Avoid extreme heat: Hang your feeders in shaded areas so they don’t soften too quickly.
Best Places to Hang Your Bird Feeders
Placement matters if you want to attract lots of birds.
Try hanging your seed ornaments:
- On tree branches at varying heights
- Near windows for easy bird watching
- Close to shrubs where birds feel safe
- Away from heavy foot traffic
Pro tip: Early morning is the best time to watch birds visiting your feeders.
What Birds Will You Attract?
Depending on your location and seed mix, you might see:
- Sparrows
- Finches
- Chickadees
- Cardinals
- Blue jays
Each visit turns into a mini nature lesson for kids—and honestly, it’s just as exciting for adults too.
Make It a Learning Activity
This craft is more than just fun—it’s educational too.
Here are a few ways to turn it into a learning experience:
- Keep a bird journal and track which birds visit
- Look up different bird species together
- Talk about ecosystems and habitats
- Discuss how feeding birds helps during colder months
It’s an easy way to blend crafting with science and outdoor exploration.
Variations to Try
Once you’ve made the basic version, you can get creative with different shapes and styles.
Use Different Molds
Try cookie cutters, muffin tins, or fun silicone molds like hearts or stars.
Add Natural Elements
Press in dried fruit, cranberries, or small nuts (safe for birds) for variety.
Seasonal Shapes
Make themed feeders for holidays:
- Hearts for Valentine’s Day
- Stars for summer
- Trees or ornaments for Christmas
Safety Notes
While this craft is simple, keep these safety tips in mind:
- Always supervise young children when handling hot water
- Make sure the gelatin is fully cooled before kids mix it
- Use bird-safe ingredients only (avoid salted or flavored foods)
How Long Do Seed Ornaments Last?
Your bird feeders can last several days to a couple of weeks, depending on weather conditions and how quickly birds eat them.
Rain and heat may shorten their lifespan, so consider making smaller batches more often.
Why Homemade Bird Feeders Are Worth It
There’s something special about creating something with your hands and sharing it with nature. These seed ornaments are a simple reminder that even small actions—like feeding birds—can make a difference.
For kids, it builds:
- Appreciation for wildlife
- Patience and observation skills
- A sense of responsibility
And for you? A peaceful moment watching birds flutter in and out of your yard.
Final Thoughts
This bird feeder craft using seed ornaments is one of those activities you’ll come back to again and again. It’s easy, meaningful, and brings so much joy long after the craft is finished.
Whether you’re crafting with your kids, planning a seasonal blog post, or just looking for a relaxing DIY, this project delivers every time.
So grab your supplies, mix up a batch, and get ready to welcome some feathered friends into your backyard.
See More Fun Outdoor Crafts:
- DIY Bird Feeders with Thrift Store Finds
- DIY Tile and Glass Mosaic Kits
- Reuse K-Cups for Your Garden
Subscribe
Sign up for our newsletter!
Never miss a thrifting tip! Readers of our newsletter will receive notifications of new published blog posts and exclusive content just for our loyal readers.